Knowing how to edit footer in PowerPoint comes in handy in several situations. It could be updating your company name after rebranding, fixing outdated dates, adding slide numbers, or removing footer text from a template you downloaded online.
Whatever the case, rest assured that PowerPoint lets you edit elements in the footer, because it is an important part of any presentation. However, you may struggle with locating this option, especially if you’re still new to creating slides in PowerPoint.
In this guide, you’ll learn how to add, edit, remove, and customize PowerPoint footers in your presentations.
Key Takeaways:
- A PowerPoint footer can hold custom text, a date, and a slide number.
- You can add, edit, or remove a footer using the built-in Header & Footer tool for most presentations.
- If you can’t edit the footer directly, use the Slide Master.
- Keep your footer simple and consistent with only important details.
What is a Footer in PowerPoint and When Is It Useful?
Whenever you open a slide, there’s usually a small section at the bottom that displays the presentation date, page numbers, company details, copyright information, and notes. That section is called the footer.
A PowerPoint footer helps keep important information consistent across multiple slides, making it useful in business reports, client proposals, academic presentations, and conference slides. It also helps your audience identify presentation details without distracting from the main slide content.
However, not every presentation needs a footer. Creative portfolios, marketing pitches, or image-heavy presentations, for example, often look cleaner without one. Choosing whether you need a footer or not depends on your presentation goal and audience.
How to Add a Footer in PowerPoint
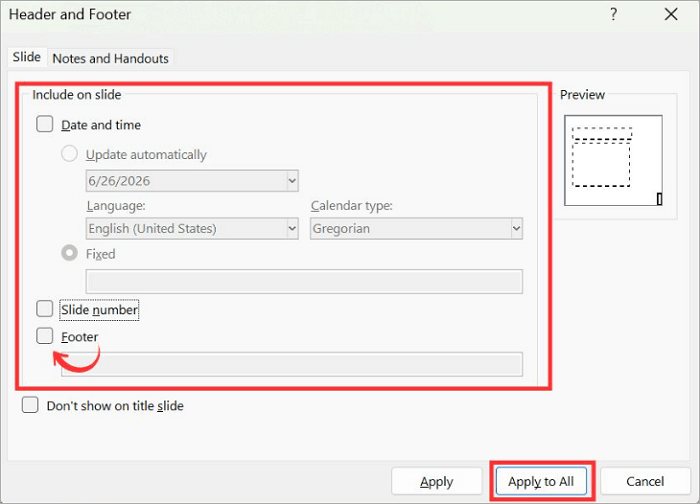
Adding a footer to your presentation is very straightforward using PowerPoint’s built-in footer settings. This feature lets you display dates, slide numbers, and custom text across your slides.
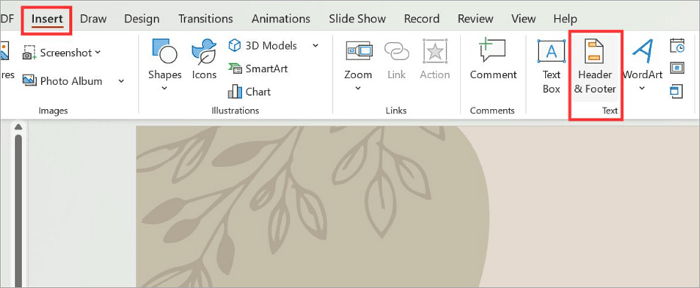
Step 1: Open the Header & Footer menu
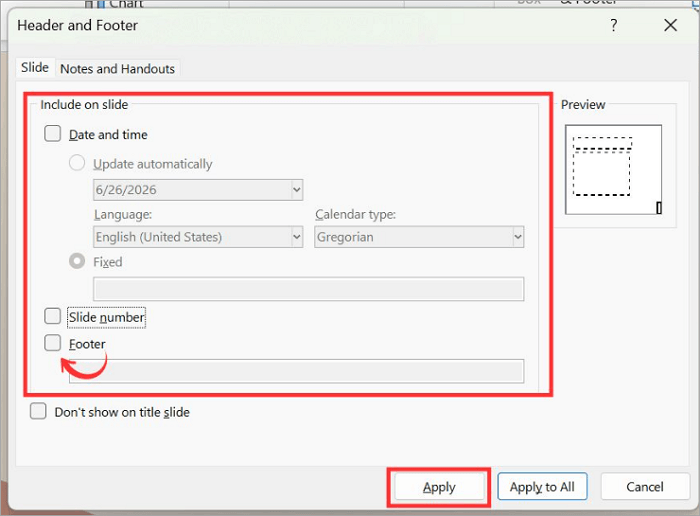
Go to the Insert tab and select Header & Footer in the Text group.
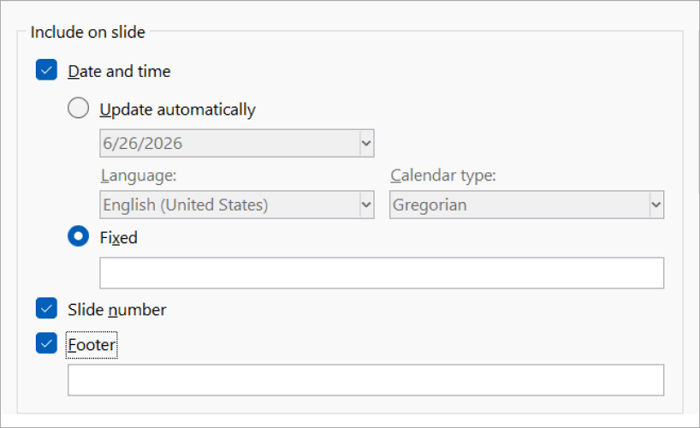
Step 2: Choose the Footer Elements
Check and select the footer elements you want to include on your slides. The Footer element allows you to add a custom detail, such as a company name or presentation title.
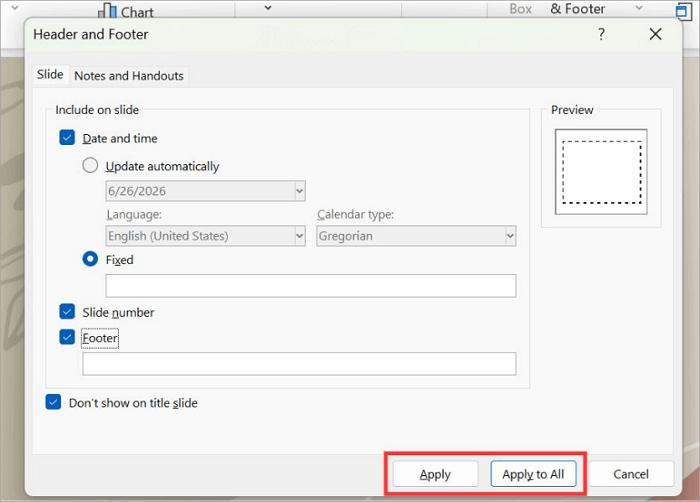
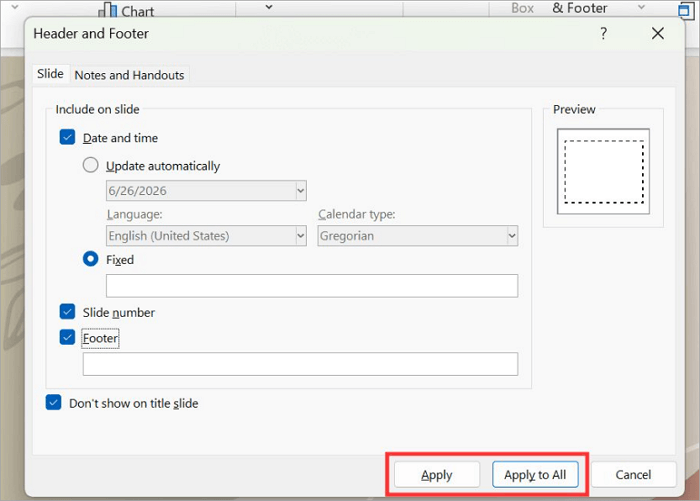
Step 3: Apply Your Changes
Click Apply to add the footer settings to only the current slide. If you want to update the whole deck, select Apply to All instead.
How to Edit Footer in PowerPoint
You may want to modify footer in PowerPoint if your company changed its name, a presentation date is no longer accurate, or you need to replace placeholder text from a downloaded template.
However, the way a footer was created will determine how you’ll edit it.
1. Change Existing Footer Text
You can easily swap out an old company name or fix a typo in your footer by going to Insert > Header & Footer. Then, edit the footer field and click Apply to All.
Sometimes, the old footer text may not be editable, and that’s often because it was typed directly from the Slide Master rather than through the dialog box you’re currently on.
2. Edit Footer Appearance
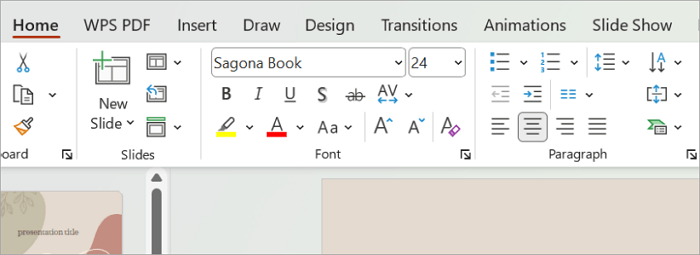
Instead of changing the footer, you can simply make it look better. To edit the footer appearance, select the footer text and use the Home tab to adjust:
- Style
- Size
- Color
- Bold or italic formatting
However, keep the footer subtle so it doesn’t distract from the main message.
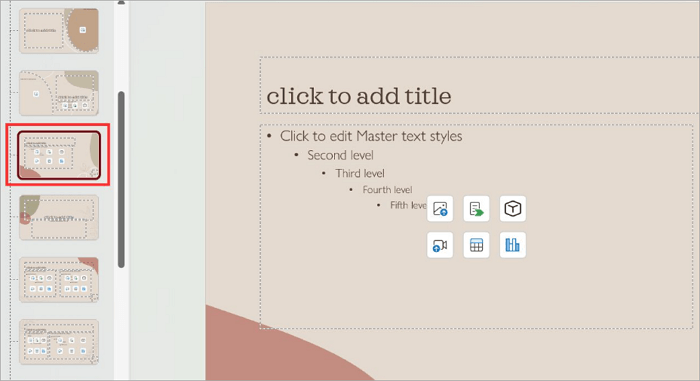
3. Edit Footer Through Slide Master
If you’re unable to select or edit the footer directly, it’s controlled by the Slide Master. Follow these steps
Step 1: Go to View > Slide Master.

Step 2: Choose the master slide or the layout affecting your presentation.
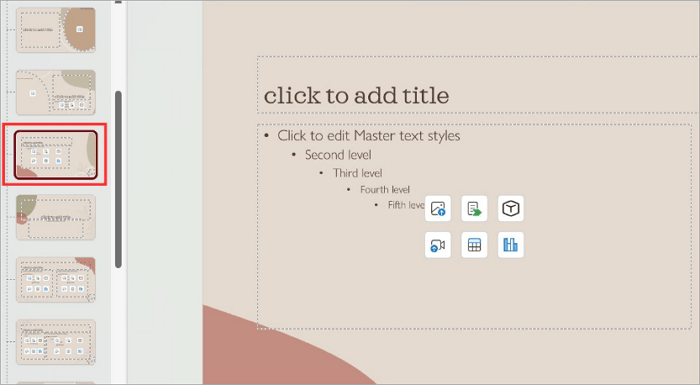
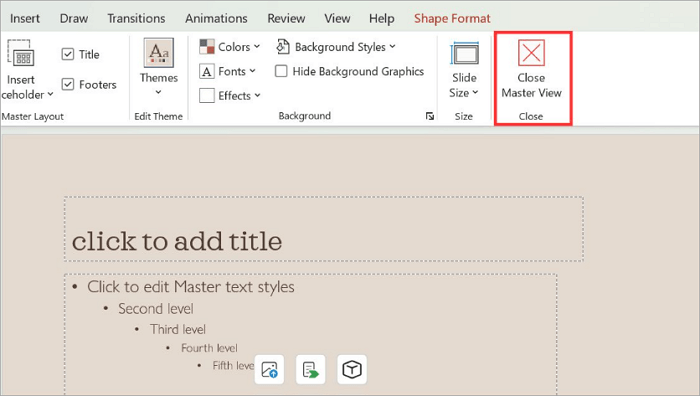
Step 3: Update or replace the text as needed and click “Close Master View.”
How to Remove Footer from PowerPoint
There are different meanings when it comes to removing footers from PowerPoint. Depending on your situation, it could be to hide footer information from specific slides or remove it from an entire template.
1. Remove Footer From Selected Slides
Select the slide you want to remove the footer from and go to Insert > Header & Footer. Then, uncheck Footer(and Date/Slide Number if needed) and click Apply. This affects only the current slide, making it useful when creating title slides or special slides without extra information.
2. Remove Footer From All Slides
To delete footer in PowerPoint across the whole presentation, uncheck Footer and click Apply to All. This updates your footer settings for all the slides in the deck, not only the current slide. Review several slides afterward to confirm every footer element has been removed successfully.
3. Remove Footer Using Slide Master
You may find it hard to remove some footers in PowerPoint, especially if they’re built into a template or theme. In cases like this, you’ll need to access the Slide Master to delete footer placeholders permanently.
Step 1: Go to the View tab and click Slide Master.

Step 2: Select the master slide or the affected layout from the slide panel.
Step 3: Click the footer placeholder and delete it, or remove the text inside it. Then Close Slide Master.
How to Customize Footer Design in PowerPoint
After editing your footer, you may choose to go further and customize it to fit your presentation style. A well-designed footer supports your presentation by reinforcing important information without drawing attention away from the main content.
1. Match Footer Style With Presentation Branding
Use the same font family, colors, and styling as the rest of your slides to create a consistent design with your branding.
For example, a business presentation might include the company name or logo colors in the footer, while a project report may simply display the presentation title and slide numbers.
2. Keep Footer Information Clear and Minimal
A PowerPoint footer isn’t supposed to hold large amounts of text or information. Instead, include only important details, such as the company name, presentation date, copyright notice, and slide numbers.
Doing this helps keep your footer easier to read and maintain focus on your presentation content.
3. Create Consistent Footers Across Slides
One way to make your presentation look professional is by being consistent. Rather than formatting each slide individually, use the Slide Master to apply the same footer style (font, size, color, and placement) across every layout in your presentation.
Conclusion
Many people regard footers as minor elements until they show up with the wrong one in a client meeting. Knowing how to edit footer in PowerPoint helps keep your presentation accurate and consistent.
It’s useful in several scenarios, such as updating business presentations, preparing branded materials, or maintaining professional consistency across slides.
Before sharing your slides, take a moment to review the footer across the presentation. If you’re making changes that affect multiple slides, you should check the Slide Master first to save more time.
Learn More About PowerPoint Footer
Still have questions? Here are answers to some common issues users face when working with PowerPoint footers.
1. Why can’t I change the footer in PowerPoint?
If you can’t edit or remove a footer in PowerPoint directly from the Header & Footer menu, it’s most likely because it is controlled by the Slide Master. To correct this, go to View > Slide Master, select the layout you’re using, and edit the footer placeholder from there. Then, close the Slide Master to apply the changes to your presentation.
2. How to modify the footer in PowerPoint Online?
To edit a footer in the PowerPoint web version:
- Open PowerPoint in your web browser and go to your presentation.
- Click the Insert tab and open the Footer options (if available).
- Update the footer text or slide numbers.
- Click Apply to All.
3. How do I delete the footer in PowerPoint when printing?
If you only want to remove footer information from printed handouts, here’s how to go about it:
- Open your PowerPoint presentation.
- Go to File > Print.
- Click Edit Header & Footer (or Header & Footer, depending on your PowerPoint version).
- Clear the footer option or delete the footer text.
- Select Apply or Apply to All.