As useful as text boxes are, they can sometimes be edited in Google Slides more tediously than they should be. They can clutter your slides, disrupt the layout, and, at times, be difficult to delete. Aside from removing text boxes, users also face issues with adding or duplicating them.
Luckily, you can do any of these actions on Google Slides without breaking the slide design. This guide will walk you through how to add, duplicate, and delete a text box in Google Slides step-by-step.
How to Add a Text Box in Google Slides
First, let’s explore the various ways you can easily add text boxes to your presentations on Google Slides.
1. Basic Methods of Adding a Text Box in Google Slides
There are two different ways to add a text box in Google Slides: the toolbar and the Insert menu. While these two methods may differ slightly, they work essentially the same way.
However, the toolbar is considered faster and the Insert menu easier to find for beginners.
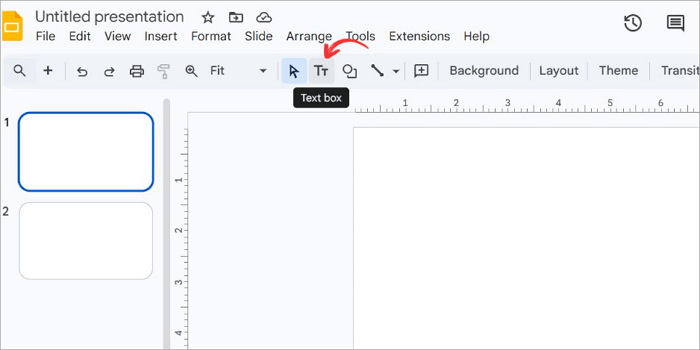
Step 1: Open your presentation and click the Text box icon from the toolbar.
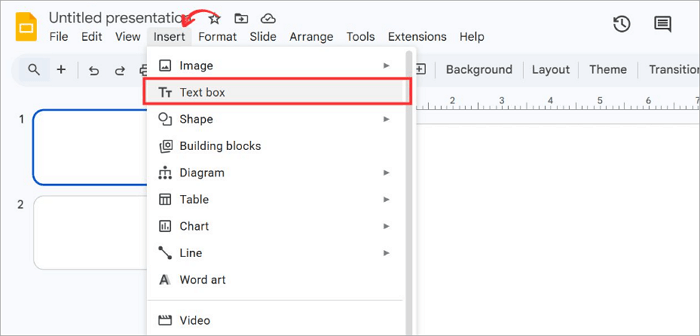
Step 2: Alternatively, proceed to the Insert tab and select Text box to create a new one.
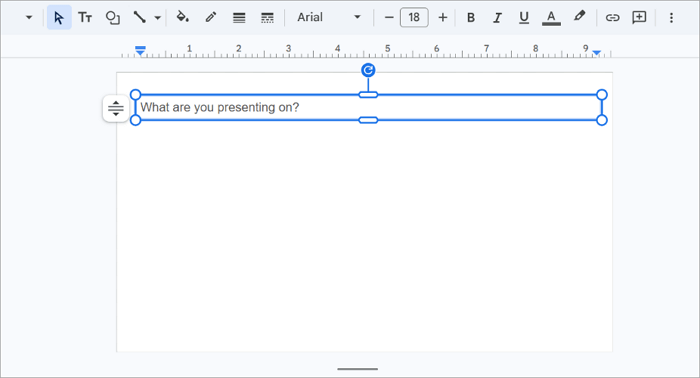
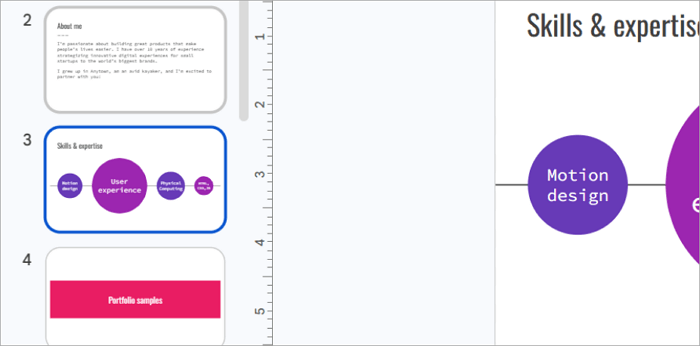
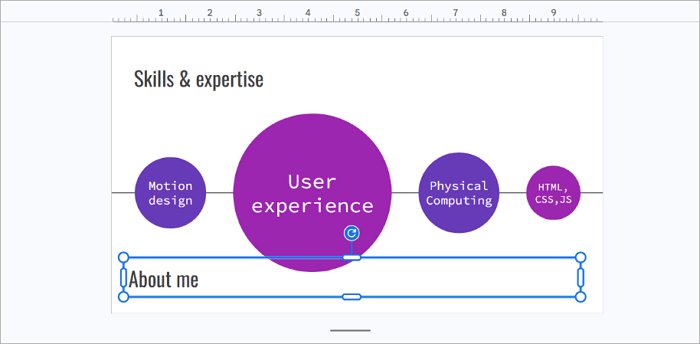
Step 3: Click anywhere on the slide to place the text box.
Step 4: Reposition the text box and start typing.
2. Add Text Boxes Using Slide Layouts (Master Slides)
Sometimes, you may want more than just one text box. You may need the same text box to appear across several slides automatically, without having to insert it one after the other. This is where the Master Slides option comes in handy.
The method is particularly useful when building templates with repeated structures, such as a slide number in the corner or a company name in the footer.
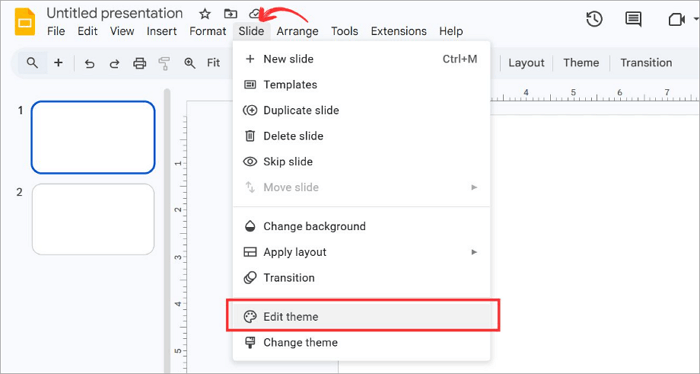
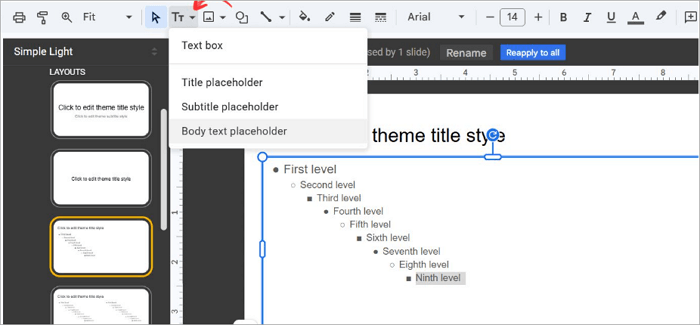
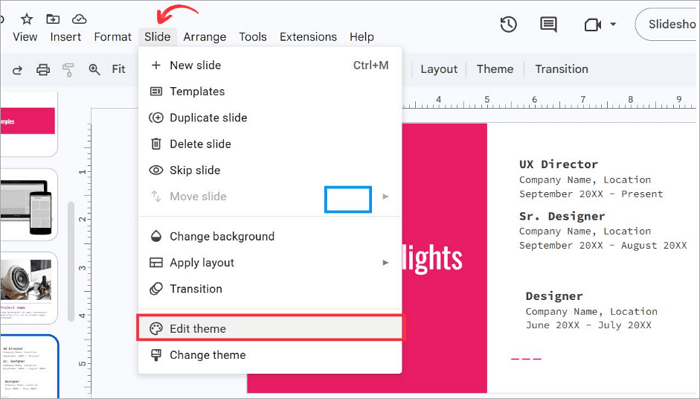
Step 1: Open the Slide bar in the top menu and click Edit theme.
Step 2: Choose your preferred layout from the left panel.
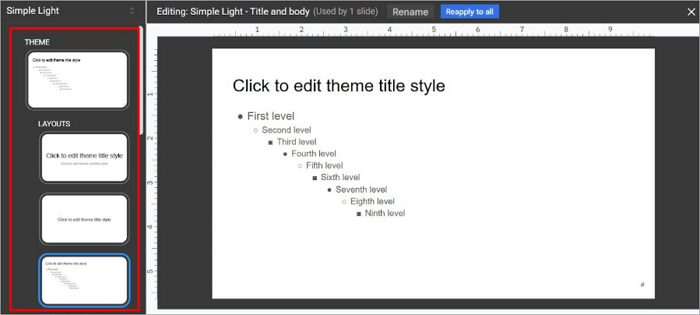
Step 3: Insert a text box from the toolbar.
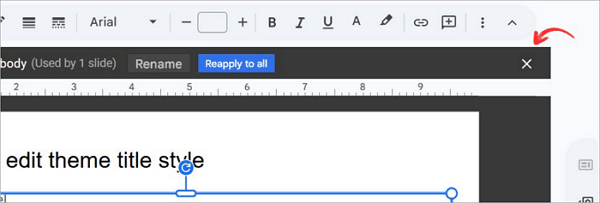
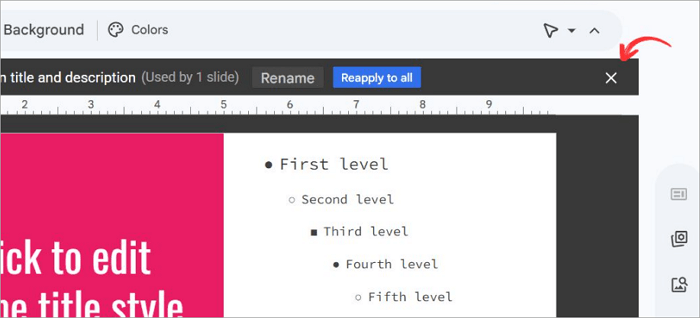
Step 4: Close the theme editor by clicking the X at the top right corner.
How to Duplicate a Text Box in Google Slides
After creating a text box, duplicating it can help you save time. That way, you don’t always need to repeat the process of adding it.
1. Quick Ways to Duplicate a Text Box in Google Slides
You can quickly duplicate a text box in Google Slides using three options, including:
1️⃣ Keyboard Shortcuts (Fastest)
To duplicate text boxes using shortcuts:
- Select a text box.
- Press Ctrl/Cmd + D.
- A copy will appear slightly away from the original. Drag it into your preferred position.
2️⃣ Copy/paste (Flexible)
For copy/paste:
- Select a text box.
- Press Ctrl/Cmd + C to copy.
- Press Ctrl/Cmd + V to place it where you want.
3️⃣ Dragging (Visual Control)
To duplicate a text box by dragging:
- Hold Alt (Windows) or Option (Mac).
- Click the text box.
- Drag and release to reposition it.
2. Duplicate a Text Box Across Slides or Layouts
Google Slides lets you duplicate text boxes not just within a slide, but across several slides or even entire presentations.
This helps create consistency in your theme as the design progresses, making it ideal for repeated headers, labels, or content blocks.
Step 1: Select the text box you want to duplicate. Press Ctrl/Cmd + C to copy it.
Step 2: Navigate to the destination slide via the left panel.
Step 3: Press Ctrl/Cmd + V to paste in your desired position on the slide.
Step 4: Adjust its position as you wish.
How to Delete a Text Box in Google Slides
Some text boxes may no longer have any use after adding or duplicating them, and that’s where deleting is helpful.
1. Basic Methods of Deleting Text Boxes in Google Slides
Deleting a text box in Google Slides is very easy. Let’s see how to do it.
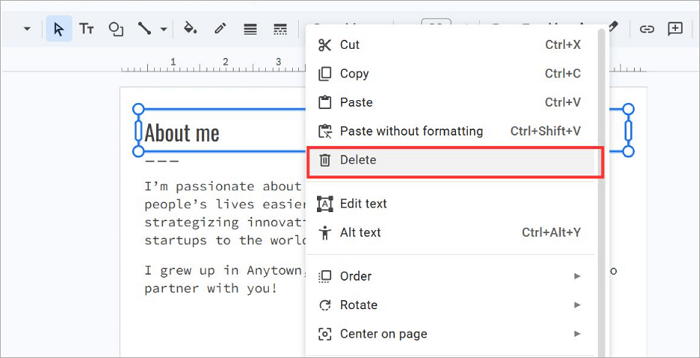
Step 1: Click on the text box border.
Step 2: Right-click and select Delete.
Step 3: Alternatively, Press Delete or Backspace on your keyboard.
There’s a common mistake people make. They select the text itself and end up deleting the content, leaving the text box.
To be sure that you selected the text box, a blue border with resize handles should appear around it after clicking.
2. Delete Multiple or Persistent Text Boxes
Do you need to remove multiple text boxes from your slides or presentation? Deleting them one at a time is time-consuming, and that’s where this method is helpful.
You can easily select multiple boxes in Google Slides and delete them all at once.
Step 1: Hold Shift and click each text box you want to delete.

Step 2: Alternatively, click a space in your slide and drag over the boxes to select them.
Step 3: Press Backspace or Delete to remove them.
3. Delete Text Boxes from Slide Layouts
Sometimes, text boxes are unresponsive when you try to delete them in Google Slides. This usually happens when the text box is part of the slide layout and, as a result, cannot be deleted normally.
To remove these text boxes from your presentation, you need to go to the source itself.
Step 1: Go to Slide from the top menu and select Edit theme.
Step 2: Find the layout that contains the persistent text box. Click the text box and select Delete.
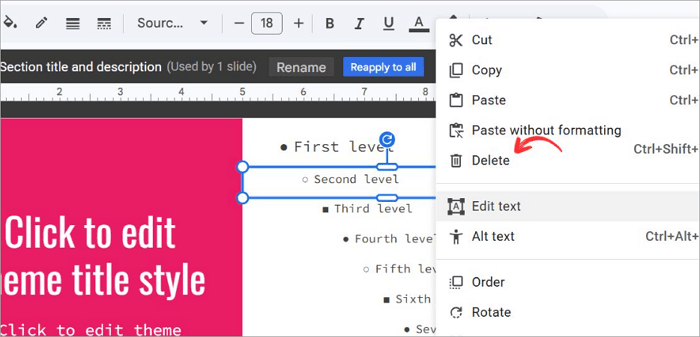
Step 3: Select the X icon to return to your slide.
Quick Fixes for Text Box Problems in Google Slides
As you use Google Slides more, you are bound to encounter issues with text boxes that can slow you down. Here are the most common text box problems and how to solve them quickly.
| Issue | Quick Fix |
| 1. Can’t delete a text box | Go to Slide > Edit theme and delete the text box from the layout. |
| 2. Pressing Delete only removes text, not the box | Click the border just once, then press Delete. |
| 3. The text box can’t be moved | Right-click and select Ungroup, then move or delete it. |
| 4. Text box keeps reappearing after deletion | Remove it from the master slide or layout. |
Conclusion
It may seem like a small task, but managing text boxes is a skill that can greatly improve your slide design. You get faster at editing, and your entire presentation also becomes cleaner and better.
Now you know how to add, duplicate, and delete a text box in Google Slides. Reopen one of your existing slide decks and use what you’ve learned to clean up text boxes or improve the overall layout.
FAQs About Text Boxes in Google Slides
Have you got more questions about adding, duplicating, or deleting text boxes in your Google Slides presentation? Let’s find answers together.
1. How to copy and paste in Google Slides?
To copy and paste a text box into Google Slides, follow these steps carefully:
- Click the text box that you want to copy.
- Press Ctrl + C (Windows) or Cmd + C (Mac).
- Go to the slide where you want to drop the text box.
- Choose a position and press Ctrl + V (Windows) or Cmd + V (Mac) to paste.
- Reposition the text box to suit your design theme.
Alternatively, you can right-click a text box and select Copy/Paste from the context menu.
2. How to delete text boxes in Google Slides on Mac?
Deleting a text box in Google Slides on Mac follows the same logic as on Windows, with one small difference. The keyboard shortcuts use Cmd instead of Ctrl.
To delete text boxes on Mac:
- Click the border of the text box to select it.
- Press the Delete key or the Backspace key.
- You can select multiple text boxes by holding Shift while clicking each one and pressing Delete.
You can also use Cmd + Z to restore a text box if you deleted it accidentally.
3. How to remove a text box from Google Slides on iPad?
To remove a text box in Google Slides on iPad:
- Open the Google Slides presentation in the app.
- Tap the text box once to select it. Selection handles will already appear around it.
- Click “Delete” to remove the text box.