Are your slides looking flat or hard to read? Then, you should know how to outline text in Google Slides.
A text outline basically adds a visible border around your letters to improve contrast and make it more readable.
At the moment, Google Slides has no dedicated feature to outline text in your presentation. In this guide, we’ll explore the four most effective methods to achieve a Google Slides text outline, so you can choose one that fits your workflow best.
Why Outlined Text Matters in Presentations
Outlined text solves real design problems. For example, when text sits on busy images or gradients, it becomes hard to read — an outline boosts contrast and legibility.
Outlines also help emphasize titles, key stats, or calls to action to quickly grab attention.
However, you should use outlined text in moderation, as overusing it can clutter slides and confuse the audience.
Method 1: Use WordArt to Outline Text (Best Native Method)
WordArt is the most reliable built-in option for creating a Google Slides text outline. It allows you to apply borders directly, which is why it can produce an actual outline effect.
This method gives you control over the outline color and thickness, letting you achieve a clean result quickly.
The downside to creating outlines with WordArt, however, is that the text is usually less flexible than normal text, especially for editing or formatting.
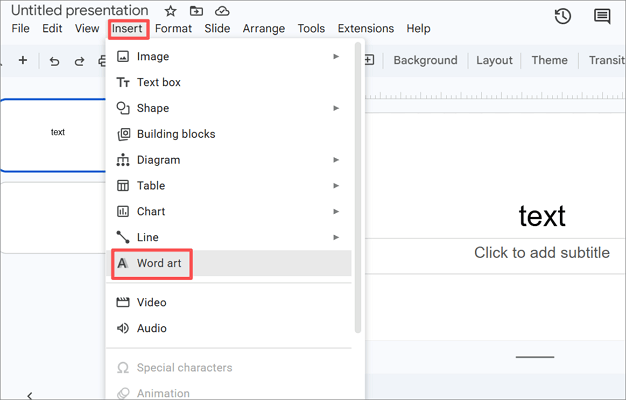
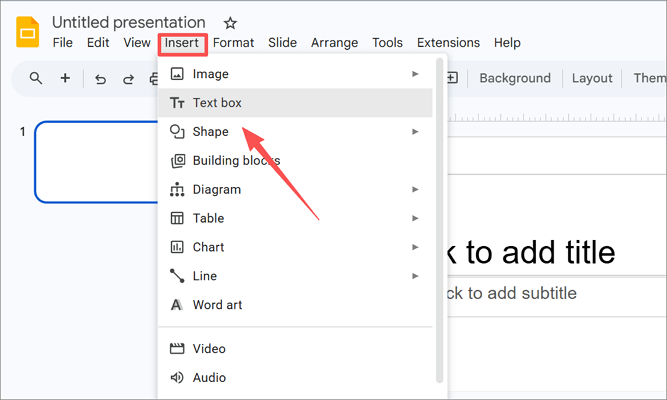
Step 1: Go to the Insert tab and select Word art from the menu.
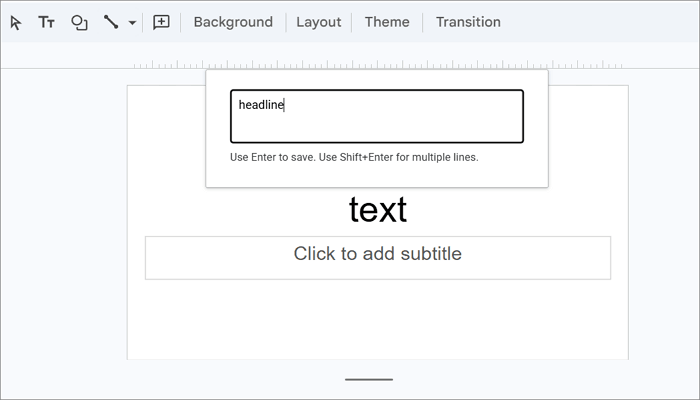
Step 2: Type your text in the box that appears, then press Enter on your keyboard.
Step 3: Click the Border color icon from the toolbar and choose your preferred outline color.
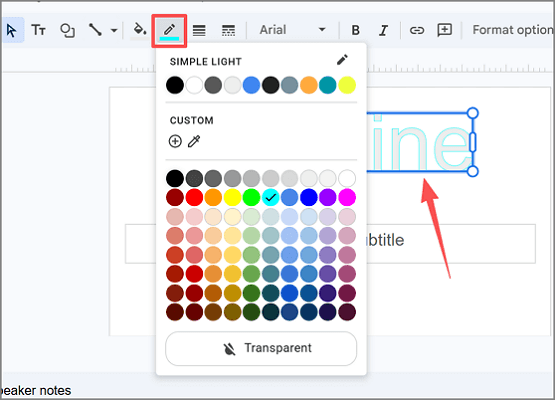
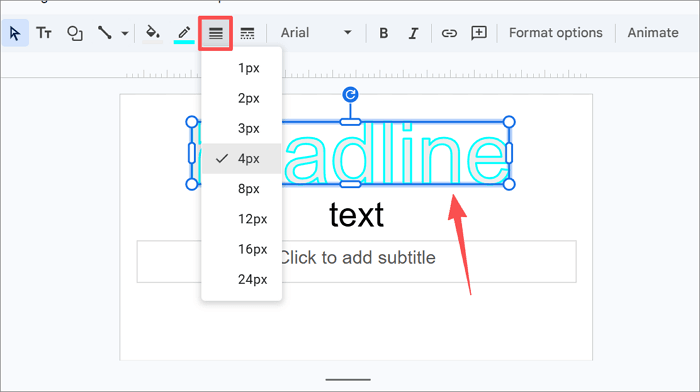
Step 4: Increase or decrease the thickness using the Border weight menu in the toolbar.
Method 2: Create an Outline Using Duplicate Text
Another reliable approach to achieve a Google Slides outline text is by using duplicate text. However, this method doesn’t actually create an outline; it works by layering two copies of the same text on top of each other to simulate one.
The advantage of using this method is that it works with regular text boxes, which are easier to edit and reformat than WordArt. But it takes more time and careful alignment to achieve a perfect result.
Step 1: Insert a text box via Insert > Text box. Then, type your text and apply font, size, and color settings.
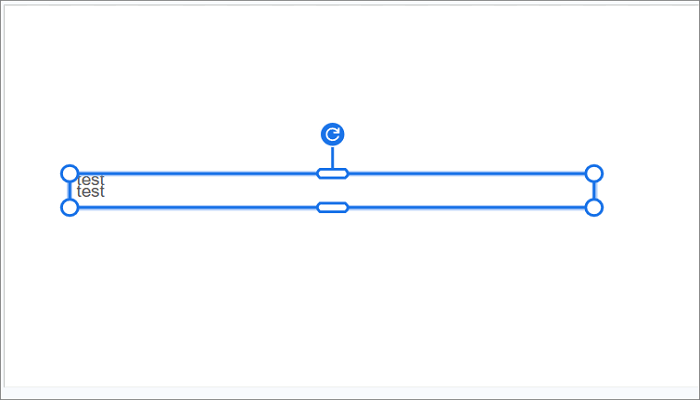
Step 2: Duplicate the text box by selecting it and clicking Ctrl + D (Windows) or Cmd + D (Mac).
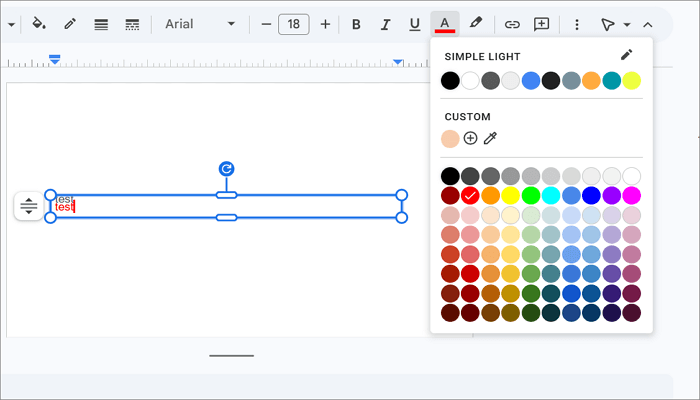
Step 3: Change the bottom text color from the Text color menu in the toolbar, and either bold the font or increase the font size of the bottom text.
Step 4: Place the bottom text behind the top text and align them perfectly.

Method 3: Use Shadow Effects to Mimic an Outline
This method is more of a quick visual trick than a true text outline solution. It uses shadow settings to create a soft glow-like effect that mimics an outline in many situations.
It works best when you need a subtle enhancement rather than a strong outline. For example, making white text on a light background slightly more distinct, rather than a bold, high-contrast outline.
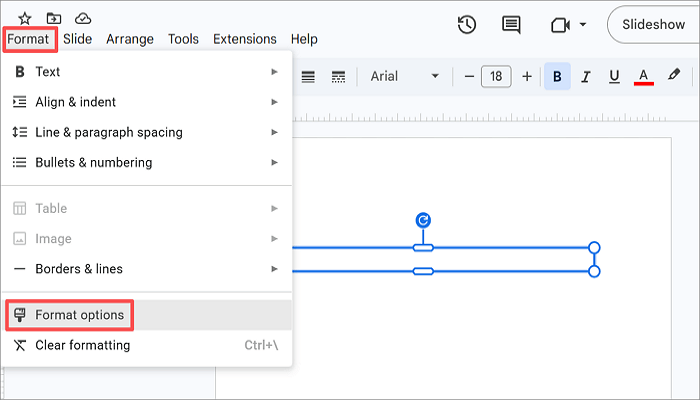
Step 1: Create or select a text box, and go to the Format tab to open the Format options menu. Alternatively, right-click your text box to access it.
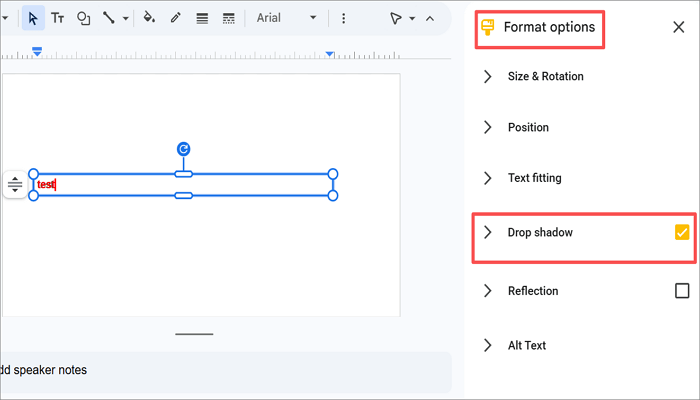
Step 2: From the panel that opens on the right, expand the Drop shadow section. This will also tick the box to enable Drop shadow.
Step 3: Set the Blur Radius to 0 and the Distance to the minimum. Also, adjust the angle so the shadow appears evenly around the text.
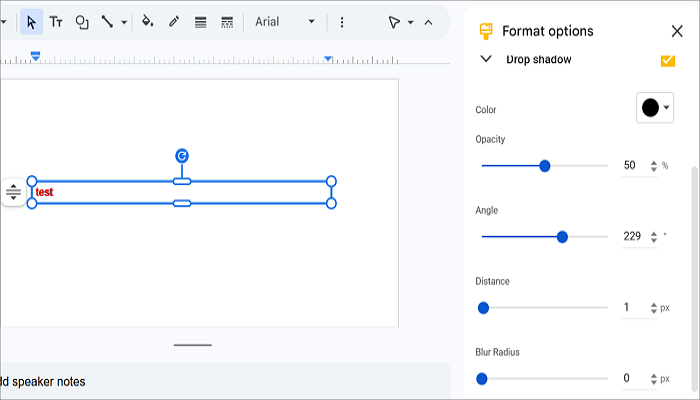
Step 4: Set the color to match your preferred outline color.

Method 4: Import Outlined Text from PowerPoint
Besides all the methods mentioned above, you can also create an outline text in PowerPoint and import the result into Google Slides.
Note that copying and pasting the styled text into Google Slides may transform it into an image or object, which means it will not always remain editable.
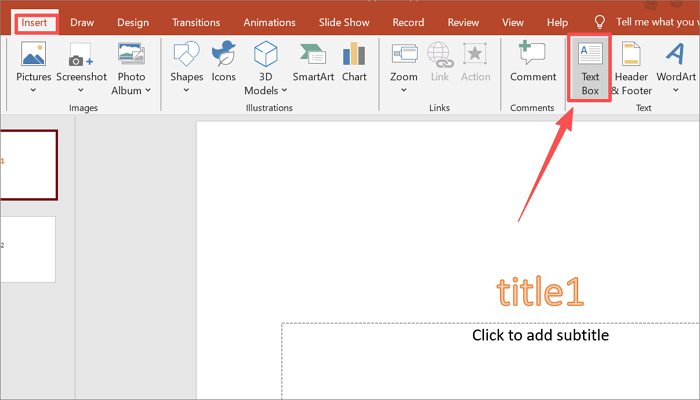
Step 1: Open a new PowerPoint presentation and go to Insert > Text box to add a new text box. Type in your text.
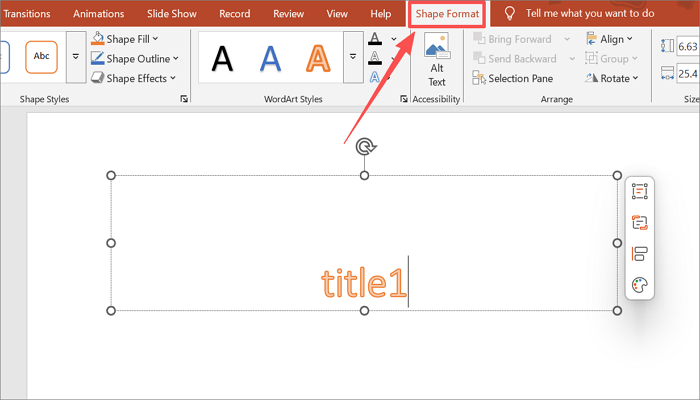
Step 2: Select the text box you just created and proceed to the Shape Format tab.
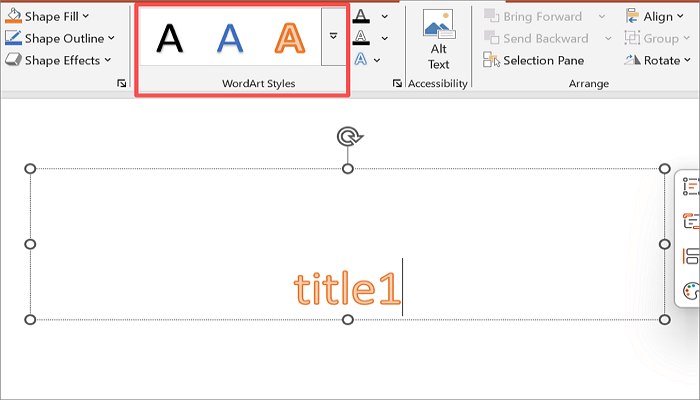
Step 3: Click the Text Outline icon from the WordArt Styles group and choose your desired color.
Step 4: Copy the outlined text and switch back to Google Slides. Then paste the text using Ctrl + V (Windows) or Cmd + V (Mac).
Common Issues with Google Slides Text Outline and Fixes
Sometimes, things don’t go as planned when outlining text in Google Slides. Here is a quick reference for the most common problems and how to fix them.
1. Text is hard to read
This happens when the outline color is too similar to the text color. You can easily fix it by choosing a higher-contrast outline color. Use a dark outline on white text, or a white outline on dark text.
2. Outline looks uneven
The Blur radius or Angle is set incorrectly in the shadow method. To fix this, set Blur radius to 0 and Angle to 315 degrees.
3. Duplicate text boxes are not aligning correctly
Manually dragging text boxes makes precise positioning difficult, especially when you need both layers to sit on top of each other. You can fix the issue by aligning both boxes precisely via Arrange > Align or Distribute.
4. Pasted PPT text loses its outline in Slides
Google Slides does not support PowerPoint’s text outline formatting, which explains why this is happening. To fix it, save the text as an image in PowerPoint and insert it into Google Slides.
Conclusion
Good text styling is one of the simplest ways to make your presentation look more readable and professional.
First, determine which method best fits your situation, then learn how to outline text in Google Slides. WordArt is quick, duplicate text offers flexibility, shadows provide subtle effects, and PowerPoint delivers the best visual quality.
Pick a method and test it on a slide one at a time to see which one works best before applying it across the entire presentation.
Learn More About Outlining Text in Google Slides
Here are answers to some of the most common questions about how to add an outline to text in Google Slides.
1. Can you outline text in Google Slides without WordArt?
Absolutely, you can. The duplicate text approach is the most practical alternative for outlining text in Google Slides.
Here’s how to do it:
- Create a normal text box and type your text.
- Duplicate the text box using Ctrl/Cmd + D.
- Change the duplicate’s font color to your preferred outline color.
- Align both texts on top of each other.
2. How to outline text in Google Slides on mobile?
The Google Slides mobile app has limited formatting options compared to the desktop version. However, you can still simulate a text outline using the duplicate text approach:
- Open the Slides app on your mobile device.
- Insert a text box.
- Copy and paste the text box to duplicate it.
- Change the color of the bottom text.
- Align both texts on top of each other manually.
3. How to outline words in Google Slides and text color?
You can combine an outline effect with a custom text color for better results. Follow these steps to do so:
- Insert WordArt via Insert > Word art and type your text.
- Use the Fill tool to change the text fill color to your desired color.
- Click the Border color icon and choose your preferred outline color.
- Adjust the Border weight to increase or decrease the thickness of the outline.