Want to make your Google Slides stand out from the rest? A simple border around slides gives a consistent, professional appearance to the presentation and adds creative flair.
Google Slides, while being an incredible presentation tool, does not offer a direct way to add a border for slides. This leaves many users wondering how to place a clean, cute border in the Slides.
But don’t worry, there are several workarounds to add borders for Google Slides, and we are going to discuss five easy methods here.
Method 1. How to Add a Border in Google Slides Using a Shape
Let’s start with something simple. Using a shape, like a rectangle, is the easiest way to add cute borders for Google Slides. Shapes offer great flexibility, allowing you to adjust the border’s color, thickness, and style. However, the process isn’t entirely straightforward and requires several steps.
📝 Following is a step-by-step guide to make a border on Google Slides using a shape:
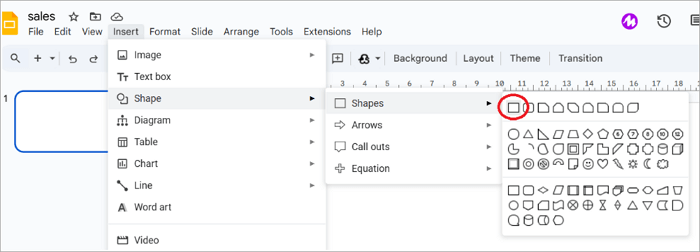
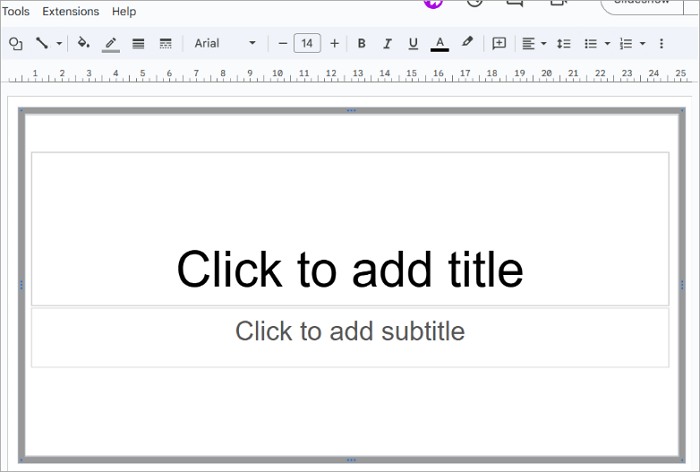
Step 1: Open your presentation and go to Insert > Shape > Shapes, pick the rectangle shape.
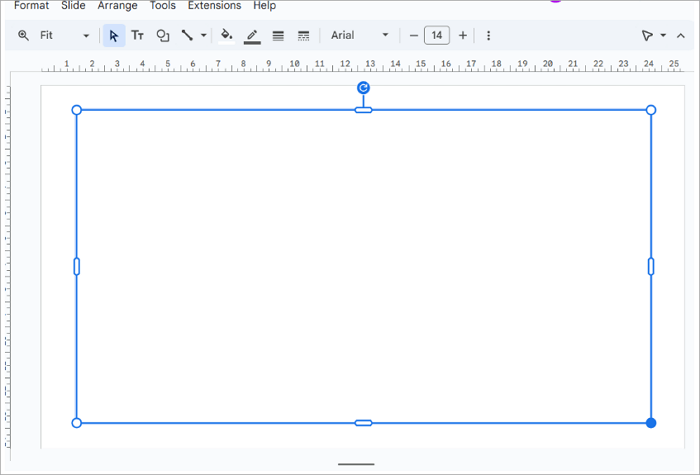
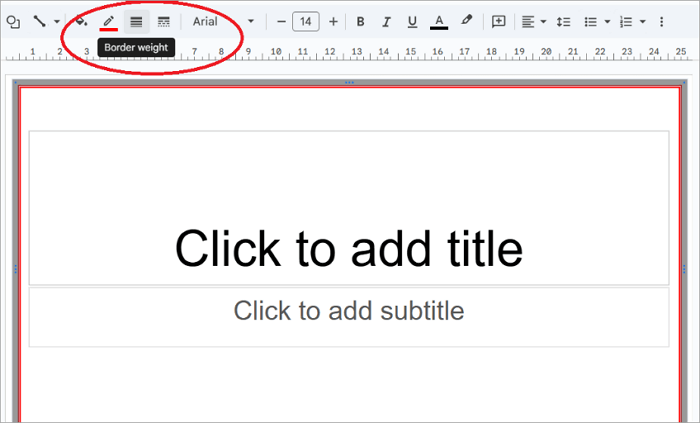
Step 2: Stretch the Shape to fit the slide. If you reach a slide margin while adjusting the shape, a red line is indicated.
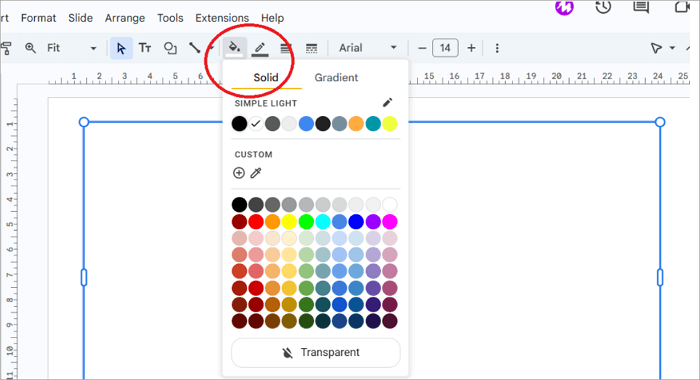
Step 3: You can customize the border using the Fill and border buttons. Keep the border selected while editing.
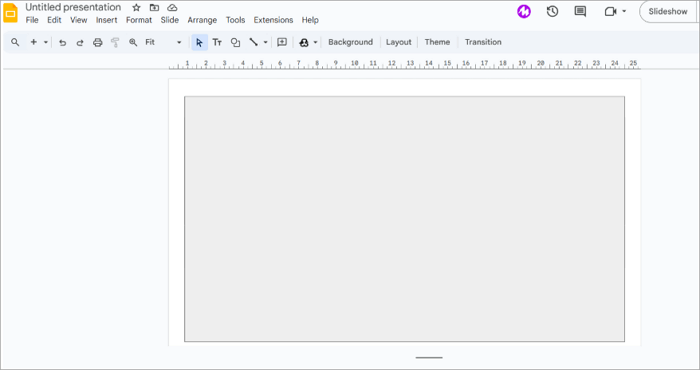
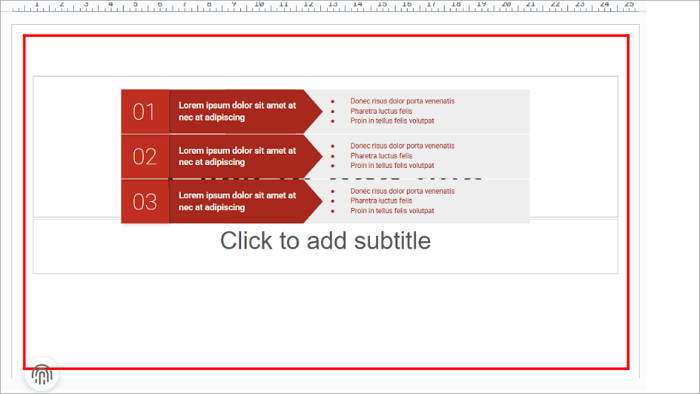
Step 4: If your content is hidden behind the border, move the border to the back of the slide. Go to Arrange > Order > Send to back.
Method 2. How to Make a Border on Google Slides with a Table
Want to learn a clever trick? A simple 1 x 1 table placed on the slide will give you a clean, adjustable frame for the content.
As easy as it is to place a border this way, there are downsides as well. Since the border is not locked into the slides, it tends to move around as you continue to edit slide content.
📝 Here is how to add a border in Google Slides step by step:
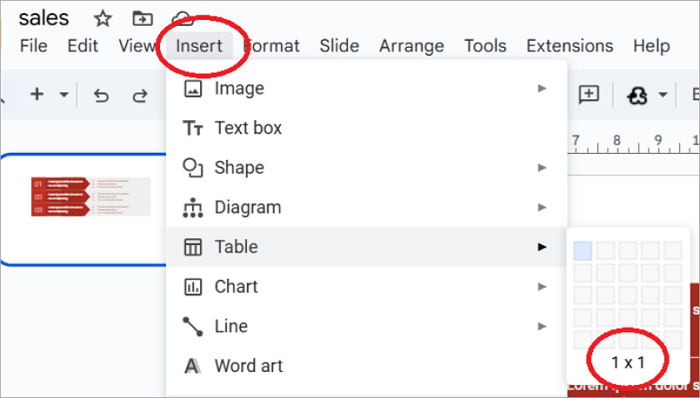
Step 1: Go to Insert > table in the top bar and select a 1×1 table from the menu.
Step 2: Stretch the table until it fits the Slide edges.
Step 3: You can customise border line width, style, and color using Border Color and Border Weight options.
Step 4: Add content inside the border. A 1×1 table as a border for slides is ideal for framing content-heavy slides.
Method 3. How to Add Borders for Google Slides Elements
You can even put a border on a Google Slide around a picture, a text box, or an element in your presentation. A nice border will make photos pop out, giving the slide a lively, structured appearance.
📝 We will show you a step-by-step process to add Google Slides borders to a picture below:
Step 1: Select the image or text box in the slide.
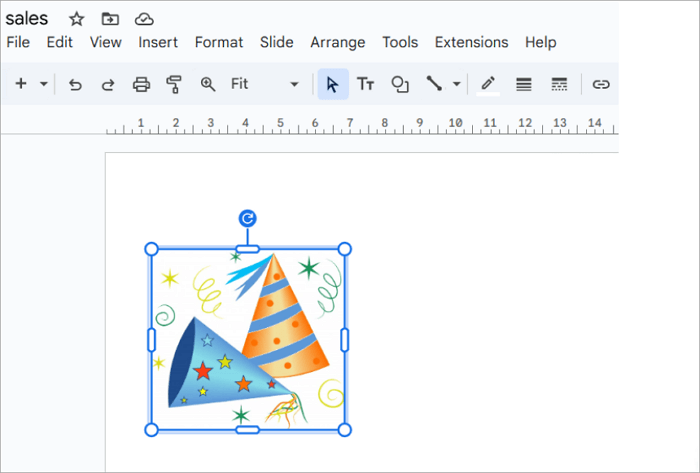
Step 2: From the toolbar, select the border color option to change the color of the border.

Step 3: Use the Border weight and Border dash tools to select the style and weight of the border. You can adjust the border to match the theme of the slide, highlighting key images or text.
Method 4. How to Make a Border for Slides by Adding an Image
Wondering how to add a decorative border? You can use an image you like to add a border to Google Slides in such an instance. However, you may need to adjust the image’s transparency and alignment so it doesn’t interfere with your main content.
📝 If you want to apply a picture as the border for slides, the following tutorial will teach you how to do that:
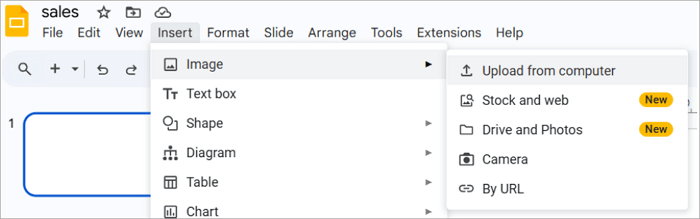
Step 1: Go to Insert > Image > upload from computer / URL and select the image you need as the border.
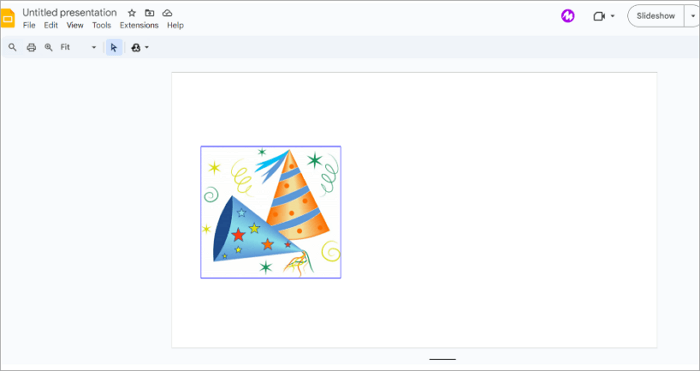
Step 2: The image will appear on the Slide. Adjust it to align with the borders of the slide.
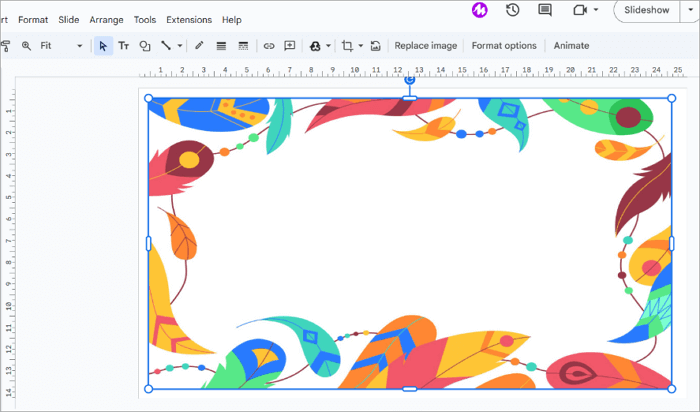
Step 3. Layer the border behind the slide content. If required, you can adjust the transparency from the format options menu. Setting an image as a border is ideal for creative or themed presentations.

Method 5. How to Add Cute Borders for Google Slides Using AiPPT
Got tired of searching for cute borders or adjusting shapes to form borders? Actually, there is no need to spend hours preparing and editing presentations.
AiPPT can do all your research based on the topic, prepare slides, and add borders. Voila! You will have a Creative Presentation ready to download within minutes!
This feature-rich tool comes with thousands of well-designed templates with built-in borders, so you will save time and energy spent on manually adjusting shapes and borders.
📝 Follow these steps to add a border to Google Slides using this AI-powered tool:
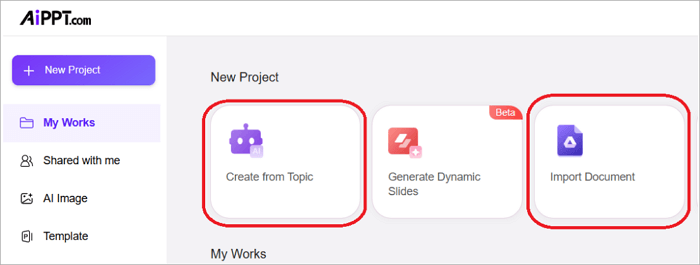
Step 1: Go to AiPPT.com. You will see several options to create a presentation. If you are building from scratch, select the Create from Topic option, or you can use the “Import Document” option to get a PPT from your files.
Step 2: After choosing Create from Topic, enter your presentation topic, review the generated outline, and click Select Template when you are sure that the outline does not need further modification.

Step 3: Select the PowerPoint Template with the type of borders you desire. Then click the “Generate PPT” button.

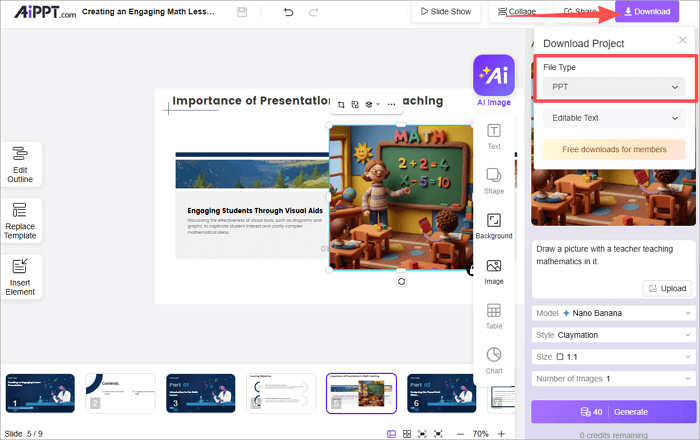
Step 4: AiPPT will generate your presentation. Click Download and save it as PPT.
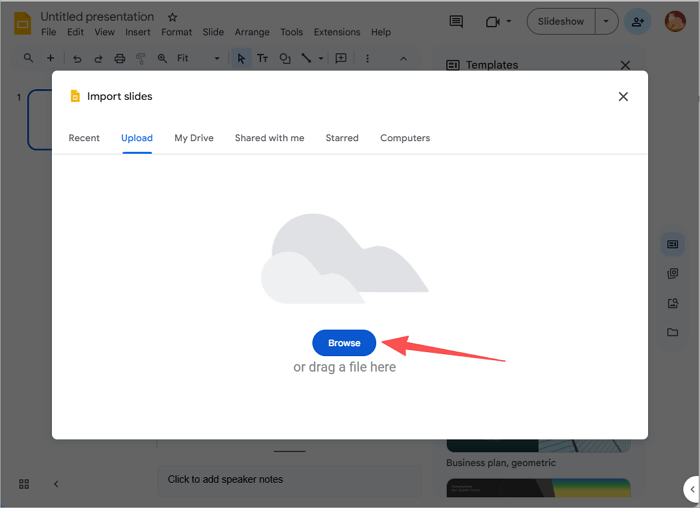
Step 5: Upload your PPT to Google Slides via File > Import Slides > Upload, click the “Browser” button, select the file from your computer, and then fine-tune your presentation.
Bonus Tip: Add Borders to All Slides
Happy with what you learned about Google Slides frames so far? Now we are going to show how to add borders for all the slides in the presentation at once. We will use the Theme Builder option here. A change in the master slide will automatically apply to all slides in the presentation.
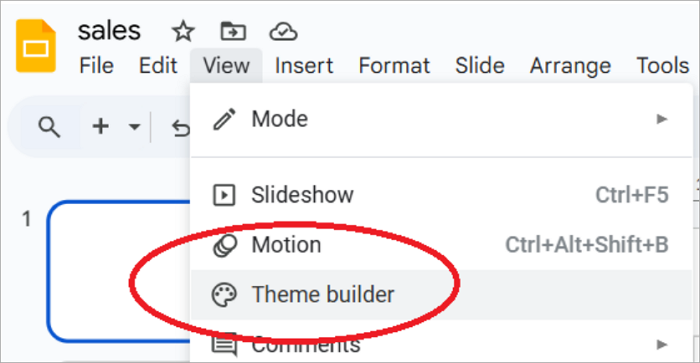
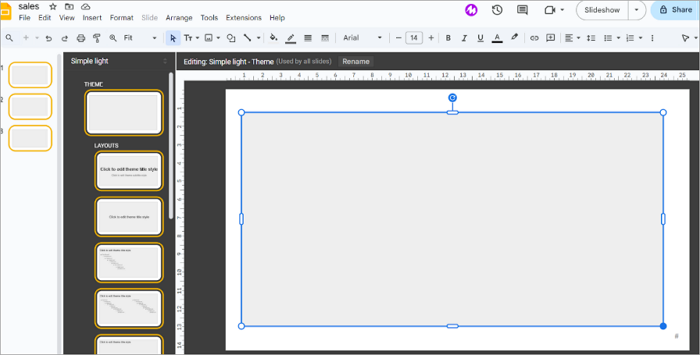
Step 1: Go to View > Theme Builder in the top menu of Google Slides.
Step 2: In the theme slide, insert a border using a shape or a 1×1 table.
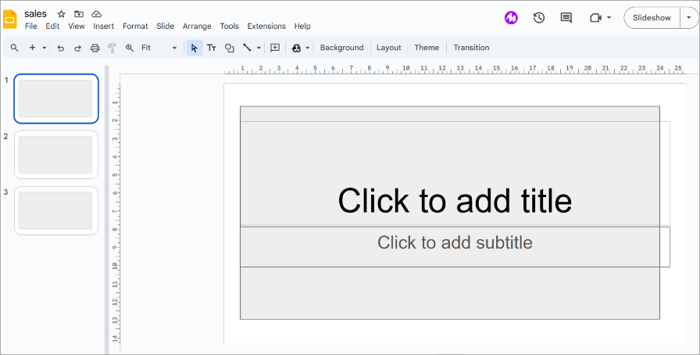
Step 3: Click the X mark in the top right-hand corner to close the theme builder. The Border will now automatically appear in all the slides in the presentation.
Conclusion
We discussed five methods to add borders for Google Slides, including the AiPPT tool, a powerful presentation slideshow maker that will save a lot of time. All five methods were explained in detail, with step-by-step instructions.
Framing your Google Slides with borders will give it a professional appearance, making it stand out from the rest.
Learn More About Slideshow Borders
Here are some frequently asked questions about how to add a border in Google Slides.
1. How to add a border to text in Google Slides?
Follow these steps to add a border to text in Google Slides:
- Go to Insert > Text Box in the top menu. Place the text box in the area you need in the slide.
- While the text box is highlighted, use the border color option to change its border color.
- Border thickness can be changed using the border thickness tool.
2. How to make Google slide borders transparent?
If you have a complex slide where the borders of text boxes and shapes overlap, making the borders transparent would bring a clean, minimalist look.
- Select the shape or text box.
- Go to Border Color in the top menu.
- Select Transparent from the pop-up menu. The border will become invisible.
3. How to add cute borders for Google Slides?
Want to add a cute border for the kids’ event presentation? You can search and download a decorative PNG frame image that suits the occasion.
- To import your PNG image to Google Slides, go to Insert > Image > Upload from computer.
- Resize and position the image to fit into the slide.
- If the uploaded border overlaps content on your slide, select the border image, press CTRL+SHIFT+ Down Arrow to send the image to the back of the slide.