You wrap text almost all the time in Microsoft Word and Google Docs, but have you ever wondered how to wrap text in Google Slides?
The truth is, Google Slides does not have an automatic “wrap text” feature, but there are workarounds to achieve the same effect.
In this guide, you will learn four practical ways to create a clean text-wrapping effect directly in Google Slides.
What Text Wrapping Means in Google Slides
In simple terms, text wrapping means making text flow naturally around an image or object. You may have used this feature sometimes in tools like Word or Docs, where text automatically adjusts itself when placed next to an image.
In Google Slides, however, this automatic interaction does not exist. Text boxes and images are treated as separate, independent objects that simply sit on top of or beside each other.
So, wrapping text in Google Slides is more of a visual layout technique. It involves manually positioning and resizing text boxes and images so that the layout looks like the text is wrapping.
Method 1: Wrap Text Around an Image in Google Slides
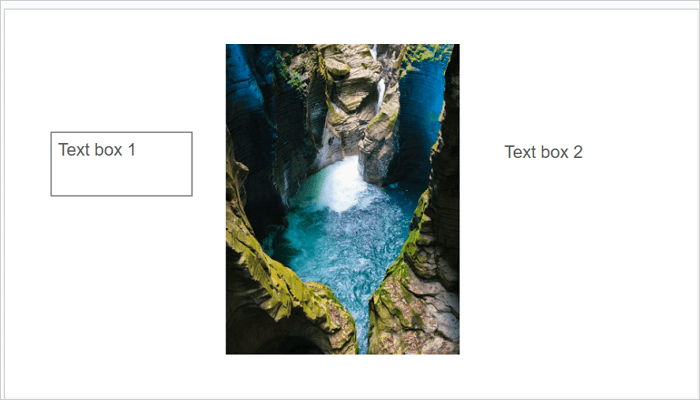
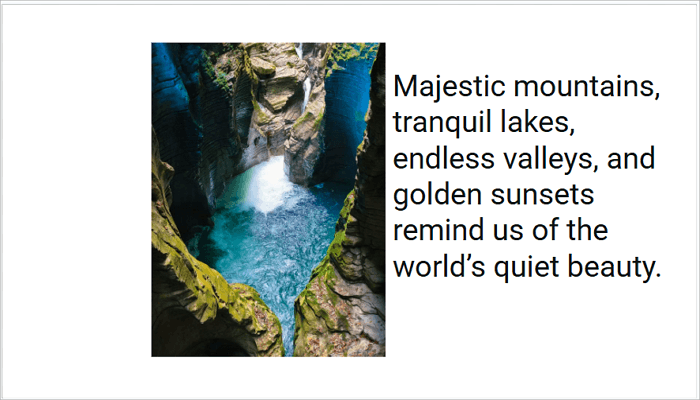
The simplest way to achieve a text-wrapping feature in Google Slides is by placing a text box beside an image so that the two sit neatly together. This method creates a clean layout where text appears to flow naturally next to the image.
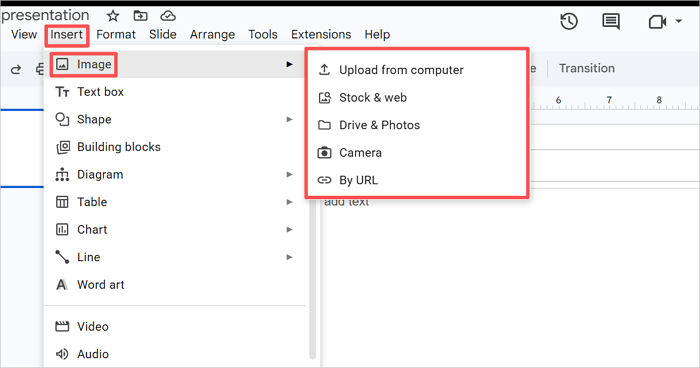
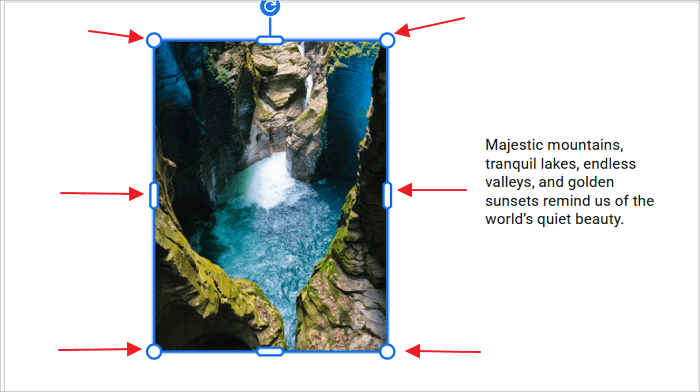
Step 1: Insert the image into Google Slides via Insert > Image. Then, select your preferred upload option.

Step 2: Click Insert > Text box to add a new text box to the slide.

Step 3: Type your content into the text box.
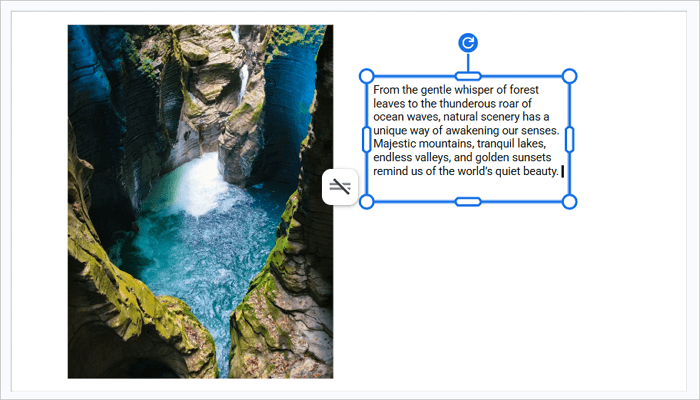
Step 4: Drag the text box next to the image and resize both so they fit neatly beside each other.

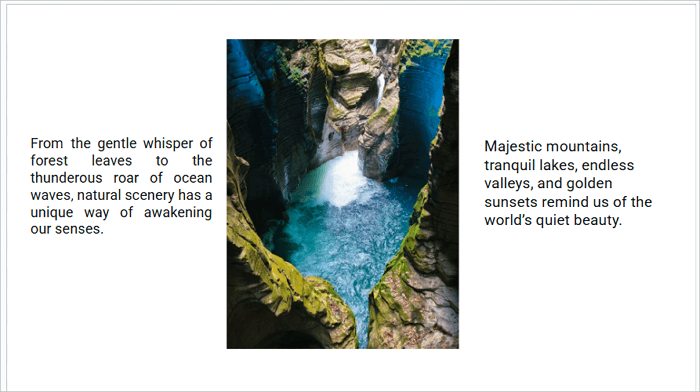
Method 2: Use Multiple Text Boxes for Better Control
Multiple text boxes come in handy when you need to be precise with your text placement. It gives you better control, especially when you want text to appear on different sides of an image—beside, above, or even below.
While this approach is very useful for complex layouts, it can be time-consuming. If your slides are simple enough, you should stick with one text box.
Step 1: Insert your image via Insert > Image and position it centrally on the slide.
Step 2: Add new text boxes from the Insert tab as many as you need.
Step 3: Type your content and align it to the center, right, or left.
Step 4: Adjust spacing to avoid overlaps.
Method 3: Adjust Image and Text Positioning
Sometimes, you don’t even need to add more elements to wrap text on Google Slides. Instead, you can easily adjust what is already on the slide.
For example, resizing the image or changing the width of the text box affects how text flows in your layout. Small adjustments like this will make a bigger difference than any new formatting trick.
Step 1: After adding your image and text box, click on the image to select it. The handles should become visible.
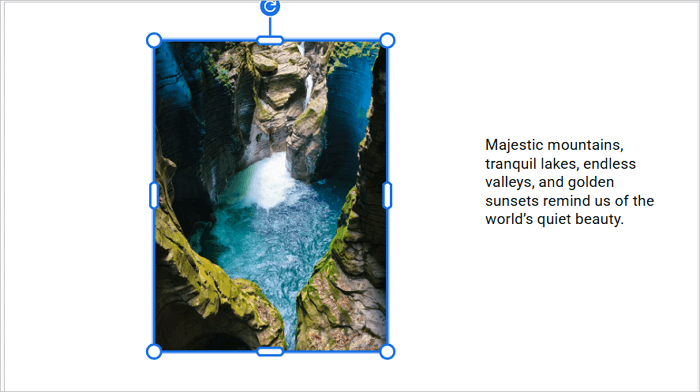
Step 2: Drag any of the corner handles of the image to resize it proportionally.
Step 3: Click and hold the image to move it to the preferred position. You can also use the arrow keys on your keyboard to move the image around.
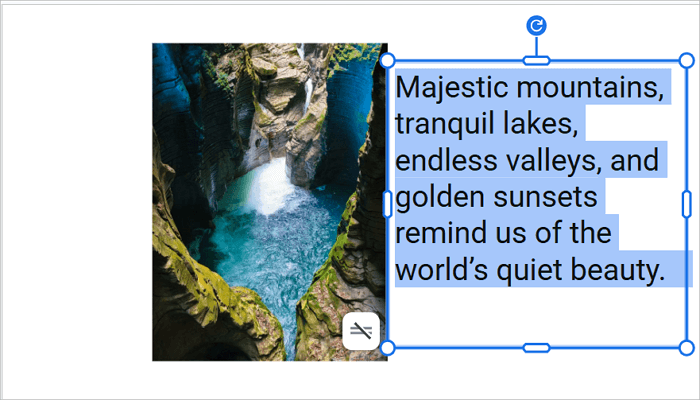
Step 4: Click the text box and drag the side handles to expand it until it fills the remaining space.
Method 4: Use Alignment & Formatting to Improve Wrapping
After finishing the layout, formatting should be your next task. This section involves refining the existing elements, not rebuilding them from scratch.
The key areas to focus on are text alignment, line spacing, and padding. These details are easy to overlook, but they determine how polished your slide looks.
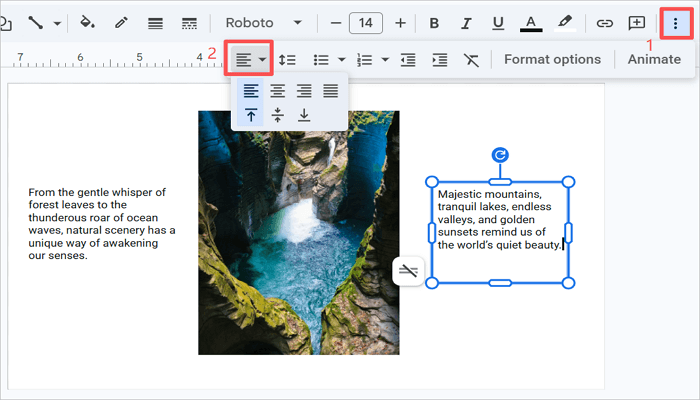
Step 1: Select the text by clicking inside the box and pressing Ctrl + A.
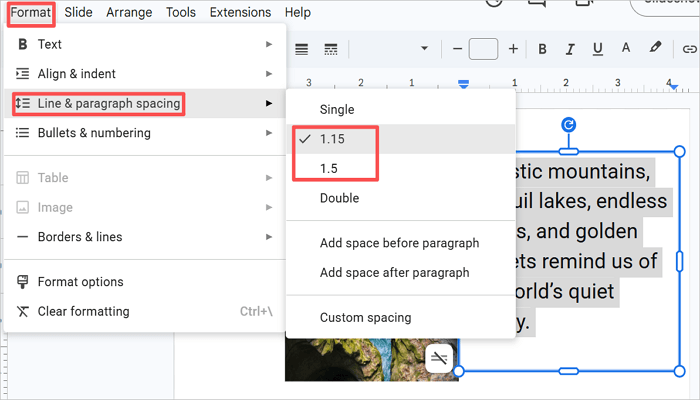
Step 2: Go to Format > Align & indent and choose your preferred option.

Step 3: With the text still selected, go to Format > Line & paragraph spacing. Try setting line spacing to 1.15 or 1.2 for better readability.
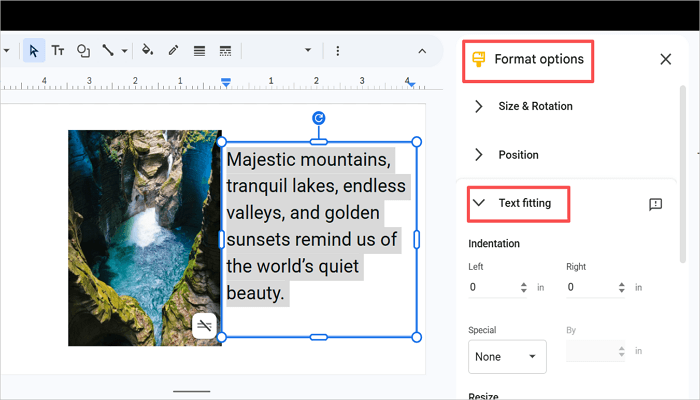
Step 4: Add a small amount of padding inside the text box by right-clicking the text box and going to Format options > Text fitting and adjusting the top, bottom, left, and right padding values. Also, check for margins, text and image spacing, and font style and size.
Mistakes to Avoid When You Wrap Text in Google Slides
Knowing how to wrap text in Slides may not be enough if you can’t fix issues that can ruin a good layout. Here are the most common errors to look out for.
1. Text overlapping an image
The text box is too wide, or the image was moved after placement. Open Format options > Position & size and adjust the text box width to clear the image edge.
2. Uneven gaps between the text and the image
This happens when elements are not placed properly during insertion. To resolve the issue, click on either element and drag to re-adjust.
3. Text that is too small or too large
The image was not resized before the text box was drawn. Resize the image first, then adjust the text box to fit the remaining space.
4. Inconsistent formatting across multiple text boxes
Each box defaults to its own formatting when created separately. Fix it by selecting all boxes with Shift + click and applying font settings in one step.
Conclusion
Text wrapping in Google Slides requires a more manual approach compared to other tools, but it is not necessarily a drawback, as it gives you more control over where each element sits in your layout.
Also, when it comes to wrapping text, simple layouts usually look better and are easier to read than complex ones. Unless necessary, there is no need to wrap text on multiple sides of an image.
Now that you know how to wrap text in Google Slides, try one of these methods in your next presentation. Adjust as you go—the layout will click into place faster than you expect.
Learn More About How to Wrap Text on Google Slides
What if you want to wrap text in Google Slides on other devices? Let’s find out how you can do this quickly.
1. How do you wrap text in Google Slides on iPad?
Here’s how to wrap text in Google Slides on your iPad:
- Open your presentation in the Google Slides app.
- Tap the + icon to insert an image.
- Resize and move the image to one side.
- Tap + again and add a text box.
- Position the text box beside the image.
- Adjust spacing manually.
2. How to wrap text around an image in Slides without changing size?
If you need to wrap text around an image in Google Slides while keeping the image at its original dimensions, you can follow this approach:
- Insert your image in the slide and keep its original size.
- Add a text box next to the image via Insert > Text box.
- Adjust only the text box width.
- Move the text box closer to the image.
- Fine-tune spacing for balance.
3. How to wrap text around an image in Google Slides on mobile?
To create a Google Slides wrap text around an image on your mobile device:
- Open the Google Slides app.
- Tap the + icon at the top of the screen to insert your image into the slide.
- Resize and place it where needed.
- Add a text box using the + icon as well.
- Drag the text box around the image.
- Adjust the placement until it looks right.