Check marks are one of the crucial elements used frequently in presentations. They have several applications, such as task lists, comparisons, approvals, etc.
However, adding a check mark in PowerPoint can seem tough, especially if you’re not familiar with the interface. This is because PowerPoint doesn’t make them obvious to add, even though there are multiple ways to go about it.
This article explores 5 different ways to add check marks, from quick symbols to interactive checkboxes, with each method having its own application.
1. Insert a Check Mark in PowerPoint Using the Symbol Tool
This method works best when you need to add a static check sign in PowerPoint. Here, you can use the check mark in bullet-free lists, labels, and text-based content, without extra formatting.
Here’s a step-by-step tutorial to go about it:
Step 1: Start a new PowerPoint presentation or open an existing one. Then select the text box where you want to add the check mark.
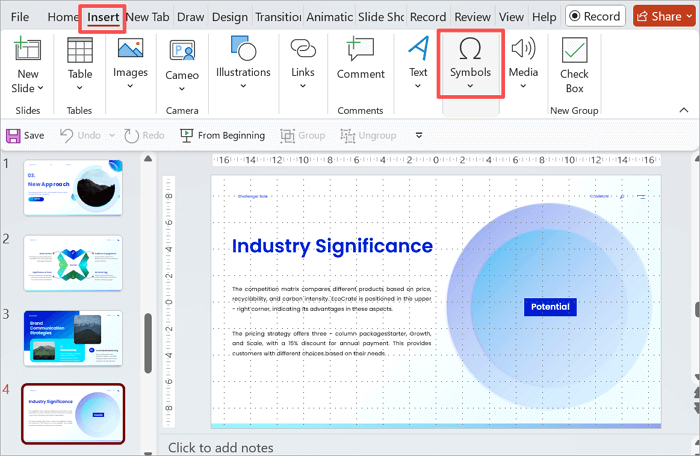
Step 2: Proceed to the Insert tab in the ribbon menu and select Symbol from the Symbols group.
Step 3: A dialog box will appear. Click the font drop-down menu and select Segoe UI Symbol. Find the check mark and click Insert.
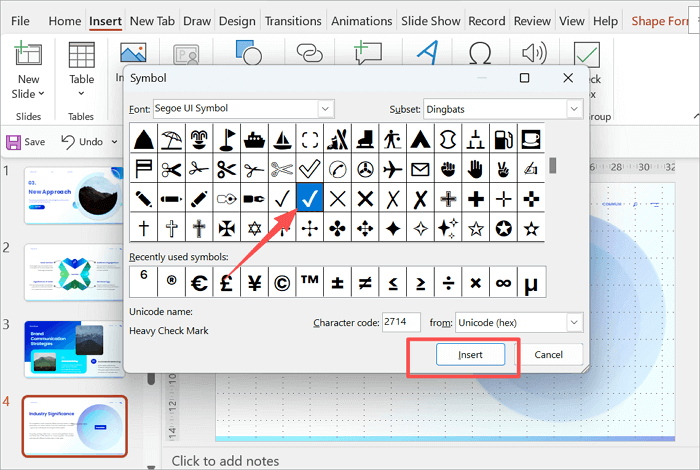
Other fonts, such as Wingdings and Wingdings 2, also contain checkmark symbols, but Segoe UI Symbol is best for cross-compatibility.
Step 4: Close the dialog box and edit your check mark as you see fit.
2. Add a Check Sign in PowerPoint Using Icons
The Icons feature offers another method to use a clean check sign in PowerPoint. This method is particularly useful when your presentation requires scalable check marks or consistent visual styling.
Now let’s add a check mark using the PowerPoint Icons feature:
Step 1: Once again, select or create a new text box where you want to add the check icon.
Step 2: Navigate to the Insert tab, but this time, click on Icons from the Illustrations group.
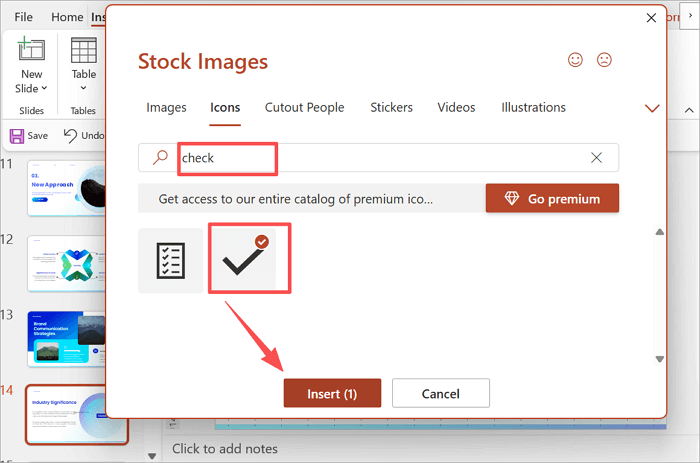
Step 3: Type check or checkmark in the search bar. Select it and proceed to Insert.
Step 4: Once inserted, you can resize the icon by dragging its corners and change its color using the Graphics Format tab.
Using this method, your check mark icons will integrate seamlessly with other elements in your slide and maintain sharpness in any resolution.
3. Insert a Check Symbol in PowerPoint Using Bullet Lists
Replacing standard bullet points with check symbols can help improve clarity for lists such as agendas, steps, or completed tasks. When using this method, ensure that your list items are properly aligned and evenly spaced to keep the text readable for everyone.
To add a check symbol in PowerPoint using Bullet Lists:
Step 1: Open a new PowerPoint presentation and go to the slide where you need the check symbol. Then, create or select a text box for it.
Step 2: From the Home tab, click on the Bullets drop-down icon.
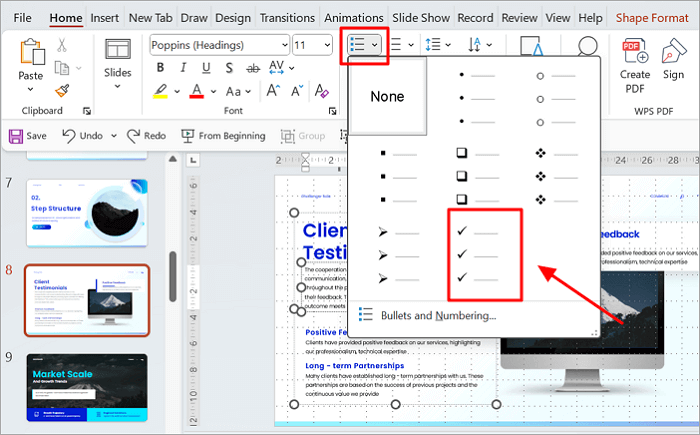
Step 3: Select the Checkmark Bullets style from the menu.
Step 4: If the check marks appear too large or small, adjust the bullet size using the size slider in the Bullets and Numbering menu.
4. Insert a Tick Mark Symbol in PowerPoint Using Shortcuts
While this method relies on the Operating System of your device, it offers the fastest way to insert a tick for PowerPoint using keyboard shortcuts. It works best when you need to make quick edits and create text-heavy slides without switching between menus.
Keep in mind that keyboard shortcuts can also be affected by the font you’re using, so the result may vary.
For Windows Users:
Step 1: Click inside the text box where you want the check mark in PowerPoint to appear.
Step 2: Hold down the Alt key and type 0252 or 0254 on the numeric keypad.
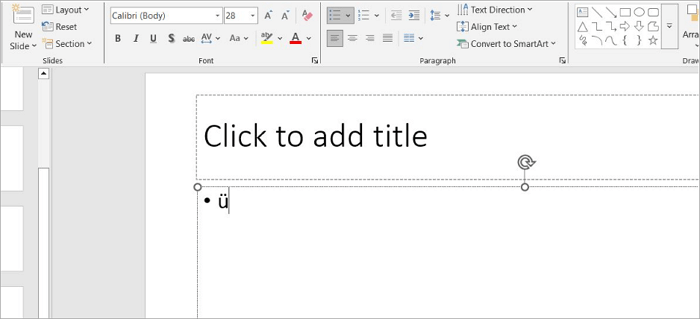
When you release the Alt key, PowerPoint will insert a different character. But don’t worry.
Step 3: Now, select the character and change the font to Wingdings.
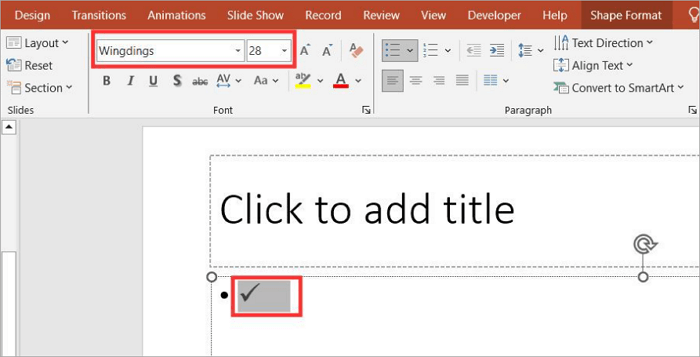
Your tick mark will now appear.
For Mac Users:
Step 1: Click in the text box or placeholder.
Step 2: Press Option + V to insert the checkmark symbol.
Step 3: If the symbol doesn’t appear, change the font to Wingdings or Apple Symbols.
5. Insert a checkbox in PowerPoint Slides with the Developer Tab
Adding checkboxes in PowerPoint is another task that can be helpful when creating interactive or task-based slides. With this method, you can create interactive, clickable checkboxes, perfect for live demonstrations, audience participation, or progress tracking during presentations.
However, the method works exclusively on Windows, due to its reliance on ActiveX Controls.
To insert a checkbox in PowerPoint from the Developer tab:
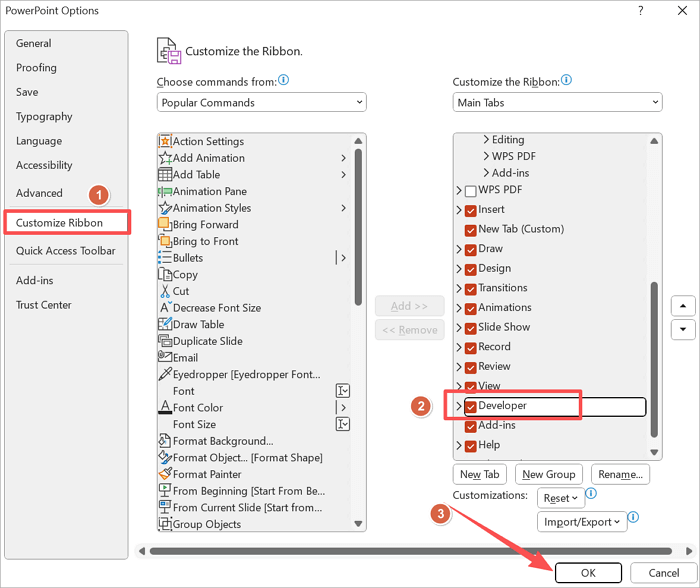
Step 1: Enable the Developer tab by going to File > Options > Customize Ribbon.
Step 2: Click the Developer box and select OK to continue.
Step 3: Head on to the newly added Developer tab and click on the checkbox icon in the Controls group.
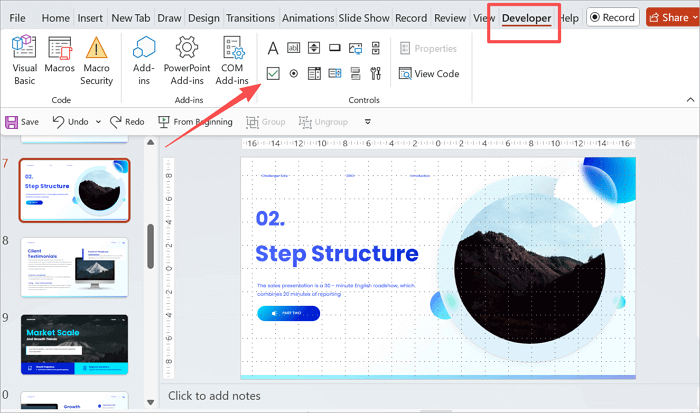
Step 4: Draw the checkbox in PowerPoint on your slide by clicking and dragging.
Step 5: Exit Design Mode by clicking the Design Mode button again.
Tips:
- Duplicate a checkbox using Copy and Paste, instead of creating each one individually.
- Also, be cautious when sharing files as ActiveX Controls may not function on Mac or web-based PowerPoint versions.
Create Professional PowerPoint Slides Faster with AiPPT.com
No matter how much you enjoy formatting slides manually, it’ll take a lot of your time. AiPPT.com provides an AI-powered solution that helps you generate complete, polished presentations in seconds, without all of that repetitive design work.
Some of the key features of AiPPT.com include:
- Automatically generates a structure/outline for your slide.
- Pre-designed layout suggestions to reduce formatting time.
- Exports design work into lightweight files to ensure smooth sharing.
- An extensive library of professional templates to keep your design consistent across slides.
Here’s a step-by-step tutorial on how you can use AiPPT to create your own presentations:
Step 1: Go to AiPPT.com and click Get Started to begin. Then, choose a preferred sign-in or sign-up option to continue.

Step 2: Select how you want to create your PPT and proceed.

Step 3: Take a moment to review the structure that has been generated for you. Click Select template to continue.

Step 4: Browse through the templates and choose one that suits your theme. Then click on Generate PPT.

Step 5: Your complete presentation is now ready. You can download, share, or edit to further customize it.
Conclusion
At this point, you can add a check mark in PowerPoint using any of the methods covered above. The option you choose, however, will affect how clear and professional your presentation looks.
Each method serves a different purpose. Static symbols work well for summaries, icons suit comparisons, and interactive checkboxes fit best in live or editable sessions.
To put this into practice, open PowerPoint and try one of these methods, or visit AiPPT.com to create polished presentations more efficiently.
FAQs About the Correct Symbol in PowerPoint
We’ve provided answers to common questions people ask about adding check marks and related symbols in PowerPoint presentations.
1. Is there a right arrow sign in PowerPoint?
Absolutely! In fact, PowerPoint offers several right arrow symbols that you can use in your presentations. These symbols are accessible through the Symbol tool in PowerPoint.
To insert a right arrow sign in PowerPoint using the Symbol tool:
- Go to the slide you want to add the arrow to.
- Proceed to Insert > Symbol.
- Select Wingdings or Segoe UI Symbol from the font drop-down.
- Locate the right arrow character and insert it.
2. How to make a checkmark in PowerPoint on Mac?
The Symbol tool also works when you need to insert a tick symbol in PowerPoint for Mac.
Here’s how to use this option:
- Open your presentation and go to the slide where you need the checkmark.
- Click inside a text box or create a new one.
- Go to the Insert tab and click the Symbol option.
- A character viewer dialog box will pop up. Scroll down to locate the exact tick you want.
- Double-click on it to quickly add it to the text box you have selected.
3. How to insert a tick in PowerPoint 365?
To insert a tick sign in PowerPoint 365:
- Open your presentation.
- Place the cursor where you want to add the symbol.
- Go to the Insert tab and select Symbol.
- Select Wingdings or Segoe UI Symbol from the font box.
- Choose the tick you want and click on Insert.
- When the check mark is inserted, you can customize its size or color from the floating toolbar.