There are plenty of shapes in PowerPoint, but you may struggle to find one that’s perfect for your presentation. In cases like this, the best option can be to combine a couple of shapes to achieve what you want.
Whether you want custom graphics, icons, diagrams, or layouts, knowing how to merge shapes in PowerPoint will help you design more creative and visually appealing slides.
In this article, we’ll cover how to merge shapes, explore various merge options available in PowerPoint (Union, Combine, Fragment, Intersect, & Subtract), and how you can apply each of them in your slide creation.
How to Merge Shapes in PowerPoint with Basic Steps
Combining shapes in PowerPoint will come in handy when you need to create logos, cut-out effects, mock-ups, and other custom graphics to suit your design theme.
Note:
Before you begin, ensure that your shapes are properly aligned and arranged. Also, consider including visuals or examples to help readers better understand the results.
Here’s how to merge shapes in PowerPoint with basic steps:
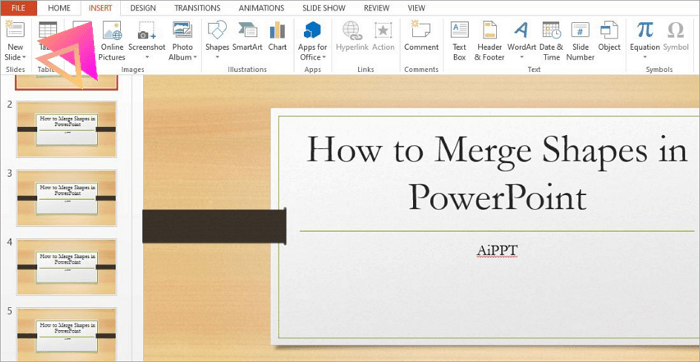
Step 1: Open your PowerPoint presentation and go to the “Insert” tab.
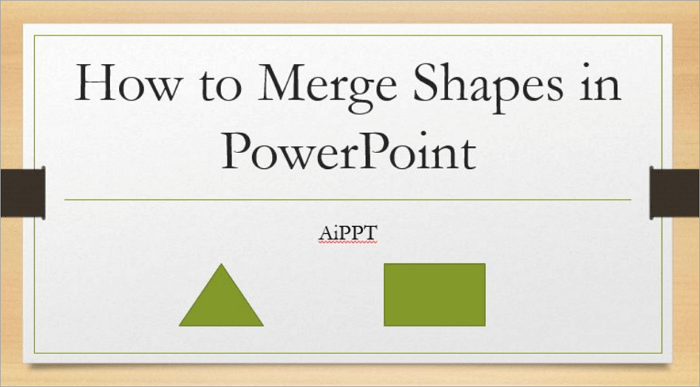
Step 2: Choose and draw two or more shapes on your slide.
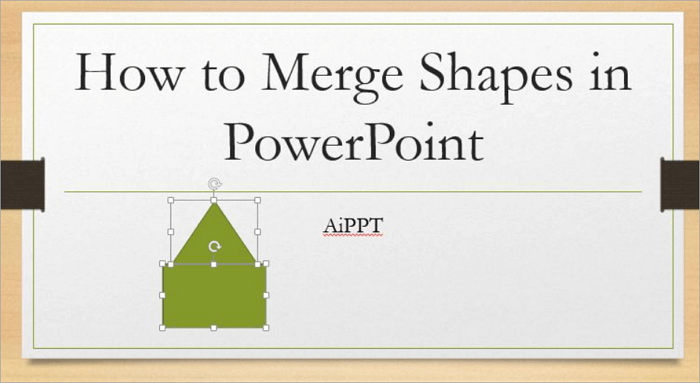
Step 3: Overlap the shapes. Then, select all shapes by holding “Shift” and clicking on each one.
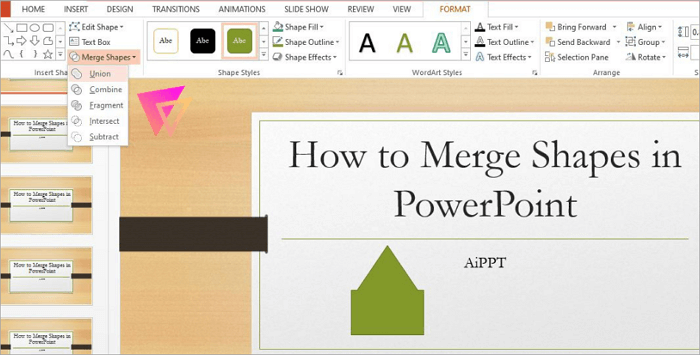
Step 4: Proceed to “Format” or “Shape Format” from the ribbon and click “Merge Shapes”. You’ll find it in the “Insert Shapes” group.
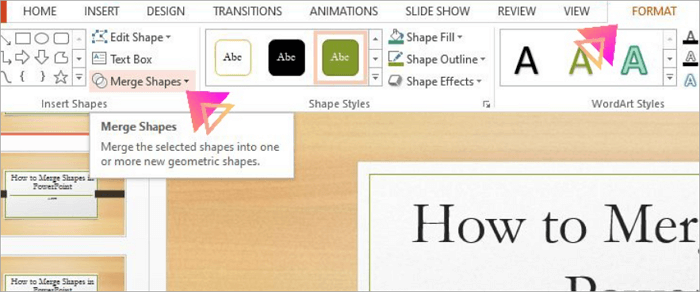
Step 5: Choose from the merge options: Union, Combine, Fragment, Intersect, and Subtract. We’ll cover all about these options in the next section.
Five Options for Combining Shapes in PowerPoint
Now it’s time for you to explore the various PowerPoint combined shapes options. They include Union, Combine, Fragment, Intersect, and Subtract. Let’s go into detail.
1. Union: Join Shapes into One
The Union option merges all selected shapes into a single shape. It does this without any overlapping lines or gaps around the unified shape.
📋 This option is best for:
- Designing logos or flow diagrams
- Creating simple, unified graphics
💡 Here’s how to use Union to seamlessly combine your selected shapes into a single, clean design:
Step 1: Insert two or more shapes onto your slide.
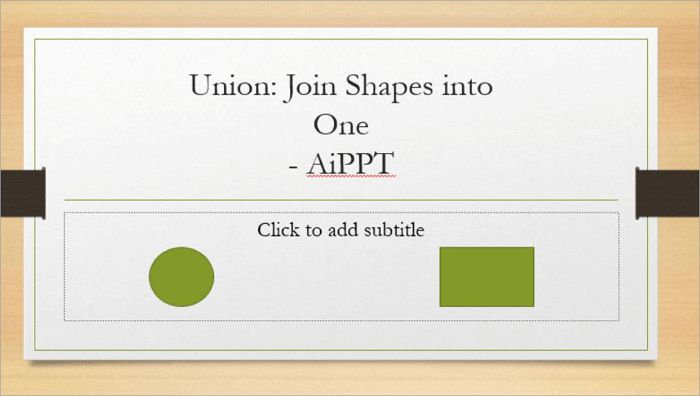
Step 2: Overlap and select all shapes by holding “Shift” while clicking each one.
Step 3: Open the “Format” or “Shape Format” tab.
Step 4: Then go to “Merge Shapes”.
Step 5: Choose “Union” from the dropdown list.

2. Combine: Remove Overlaps
The Combine option in PowerPoint removes the overlapping sections between shapes while keeping the remaining outlines intact.
Unlike Union, which joins shapes into one solid, unified entity, Combine creates a transparent space where the shapes overlap and give a stylish “cut-out” look.
📋 This PowerPoint merging shapes option is best for:
- Creating logo elements with hollow sections
- Building see-through visual effects
💡 To apply the Combine feature and achieve precise cut-out effects, follow these steps:
Step 1: Draw two or more shapes on your slide.

Step 2: Select all the shapes by holding “Shift” and clicking on each one.
Step 3. Go to the “Format” or “Shape Format” tab at the top of your screen.
Step 4. In the “Insert Shapes” group, click “Merge Shapes”.
Step 5. Choose “Combine” from the dropdown menu.
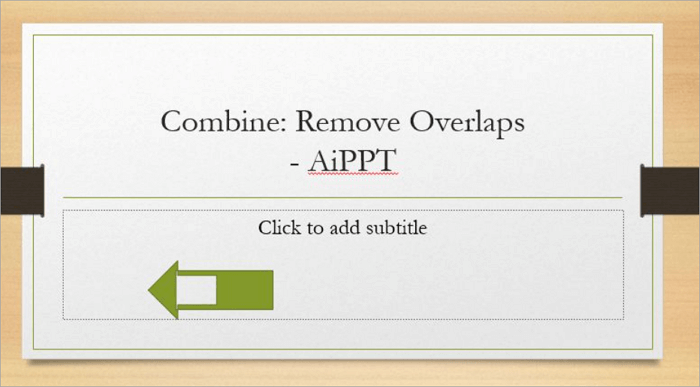
The transparent area inside the shape helps you see how the Combine effect is different from Union.
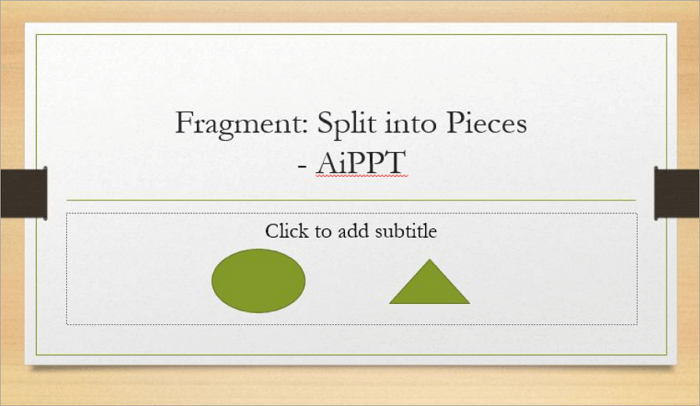
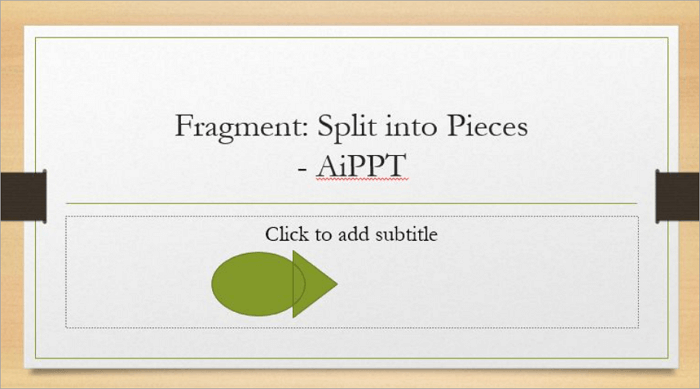
3. Fragment: Split into Pieces
The Fragment option divides overlapping shapes into several smaller sections. Each of these cut-out sections becomes a separate shape and can be individually colored or realigned.
Unlike previous methods, positioning is very important when using Fragment. The shapes you insert must overlap correctly for PowerPoint to detect the boundaries and create additional pieces.
📋 This option is best for:
- Designing multi-section diagrams or charts
- Creating geometric and other complex graphics
💡 Here’s a step-by-step guide on how to use the Fragment option to split overlapping shapes into separate, editable pieces:
Step 1: Add multiple shapes and make them overlap.
Step 2: Select all the shapes you want to fragment.
Step 3: Go to the “Format” or “Shape Format” tab.
Step 4: Click “Merge Shapes” and select Fragment from the menu.
Step 5: Click outside the group to unselect, then move or recolor each piece individually.
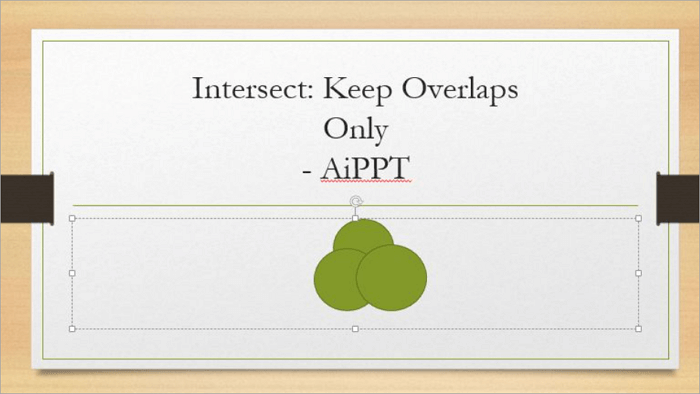
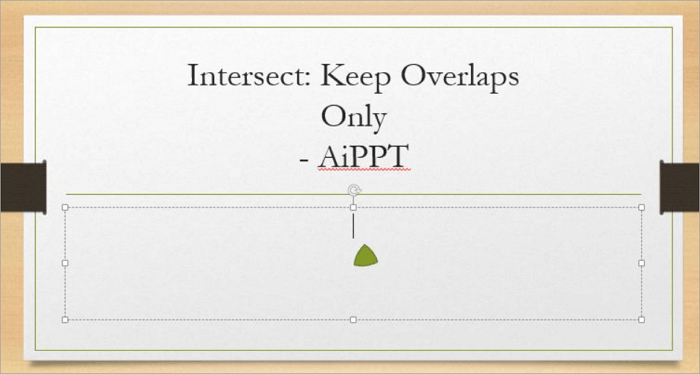
4. Intersect: Keep Overlaps Only
The Intersect option keeps the overlapping parts of your selected shapes and removes everything else. You can use this option when you want to highlight the shared area between shapes or create clean, abstract designs.
📋 This option is best for:
- Creating icons from intersecting shapes
- Highlighting the shared area between two merged visuals
💡 To focus only on the overlapping areas of your shapes, here’s how you can work with the Intersect option step by step:
Step 1: Place two or more shapes and make them overlap.
Step 2: Select all the shapes by holding “Shift” and clicking each of them.
Step 3: Proceed to the “Format” or “Shape Format” tab.
Step 4: Go to “Merge Shapes” and select “Intersect”.
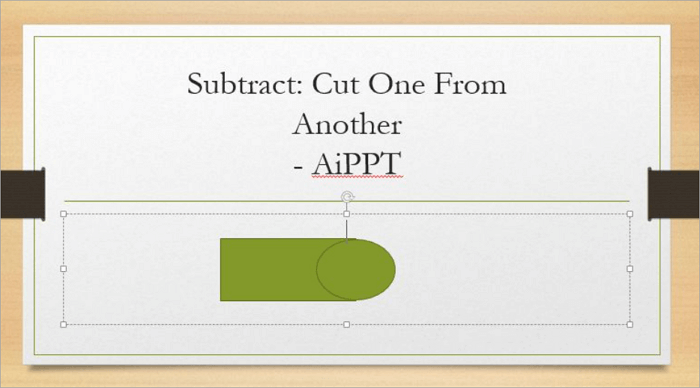
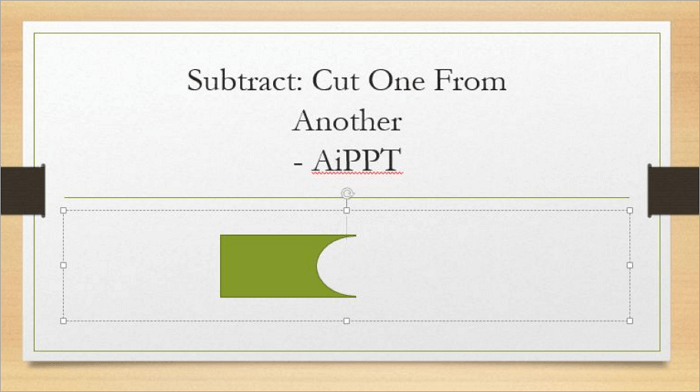
5. Subtract: Cut One from Another
The Subtract option removes one shape from another, leaving a precise “cut-out” effect. The shape you select first acts as the base, and any overlapping shapes are subtracted from it.
📋 This option is best for:
- Designing creative frames or placeholders
- Highlighting content through cut-out effects
💡 Learn how the Subtract option lets you remove one shape from another for a clean cut-out effect:
Step 1: Insert two overlapping shapes in your slide.
Step 2: Select the base shape first, then select the shape you want to subtract.
Step 3: Open the “Format” or “Shape Format” tab.
Step 4: Then go to “Merge Shapes”.
Step 5: Choose Union from the menu.
All-in-One PowerPoint AI Tool You Can’t Miss
AiPPT is an all-in-one PowerPoint AI tool to help you create professional, visually appealing slides in minutes. It leverages AI to transform your ideas from text, documents, URLs, and other inputs into structured and professional presentations.
All you need to do is choose an import option, and the tool generates your presentations in no time. There’s an edit feature that allows you to modify the results and adjust fonts, colors, layouts, and add notes to your slides.
You can do more than just generate slides with AiPPT. It lets you create custom graphics and visually engaging layouts.
Key Features:
✅ AI-powered slide generation to help you save time on design
✅ Multiple import options, including text, URLs, Google Drive, documents, etc.
✅ Extensive library of more than 200,000 PowerPoint presentation templates
✅ PPTX, PDF, and Google Slides export formats
Conclusion
Knowing how to merge shapes in PowerPoint allows you to be flexible with design. It is one of the best PowerPoint skills you can have. You don’t have to rely on the shapes in the app, but can easily improvise when you need to.
Whether you need to create unique visuals, custom graphics, or professional layouts, PowerPoint Merge Shapes with Union, Combine, Fragment, Intersect, and Subtract will come in handy.
You can also use a presentation tool like AiPPT to take your design even further and combine creativity and AI efficiency for stunning, professional slides.
Learn More About PowerPoint Merge Shapes
Before wrapping up, let’s answer a few common questions about merging shapes in PowerPoint for different devices and versions.
1. How to combine shapes in PowerPoint online?
Here’s how to combine shapes in PowerPoint if you’re using the web version:
- Open a new presentation and proceed to “Insert > Shapes” and select shapes.
- Make the shapes overlap one another.
- Next, select the shapes by holding “Shift” and clicking each one.
- Proceed to the “Shape Format” tab and click on “Merge Shapes”.
- Select “Combine” from the drop-down.
2. How to merge shapes on PowerPoint on iPad?
Unfortunately, you cannot merge shapes in PowerPoint on iPad, as this option is only available on the Windows and Mac versions. It is also not available on Android or other online versions.
However, you can use PowerPoint Online on your iPad to access this feature:
- Go to PowerPoint Online.
- Open a new presentation and go to “Insert” to add your desired shapes.
- Make the shapes overlap one another.
- Select the shapes and proceed to the “Shape Format” tab.
- Click on “Merge Shapes” and select a merge option to continue.
3. Why is PowerPoint’s Join Shapes not working?
If the PowerPoint Join Shapes option isn’t working, the most likely reason is that you haven’t selected multiple shapes. For the feature to become visible, you must select at least two shapes on your slides.
To select multiple shapes on PowerPoint, simply hold the “Shift” key and click on the individual elements you want to merge.